BLIHAT 安装说明
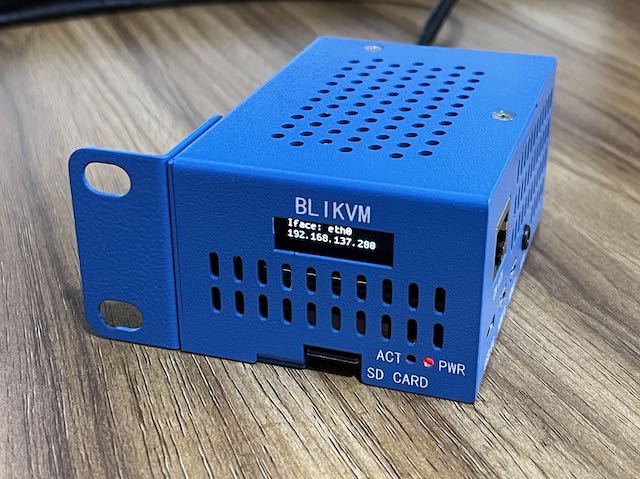
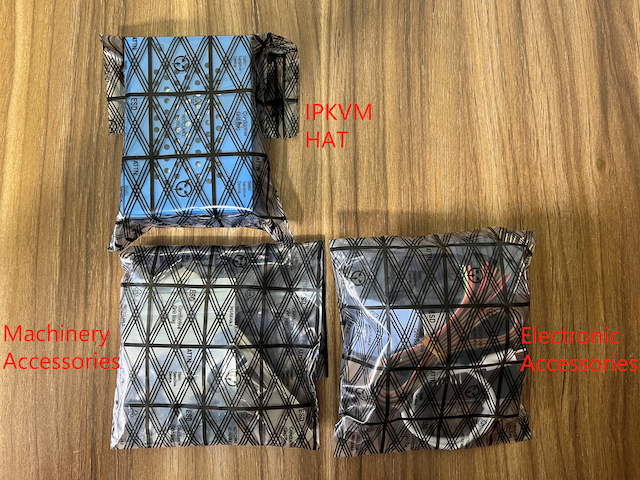
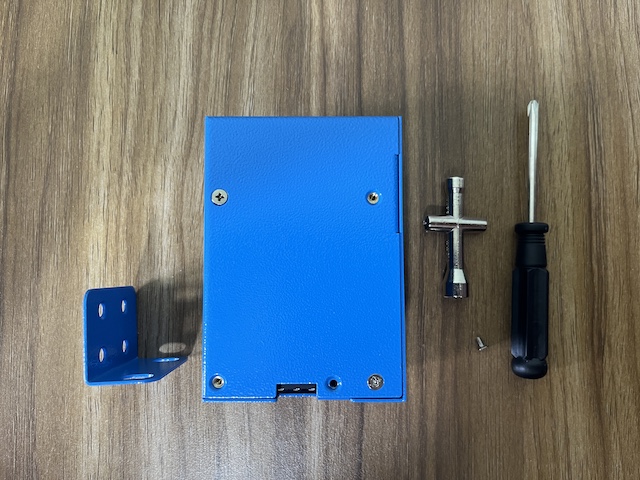
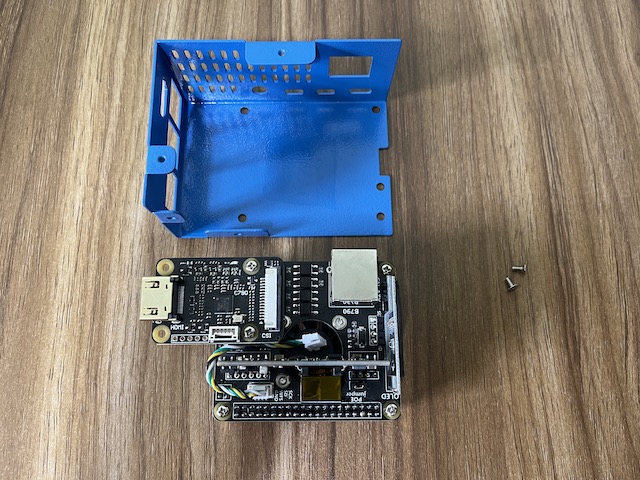
1.拆开包装,打开袋子,拿出设备

2.安装主体设备
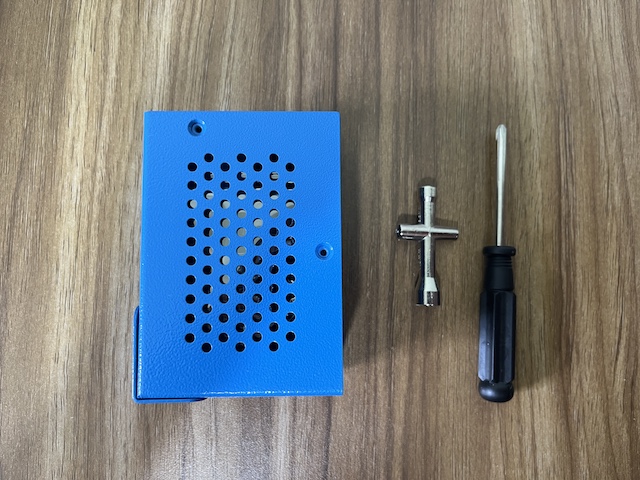
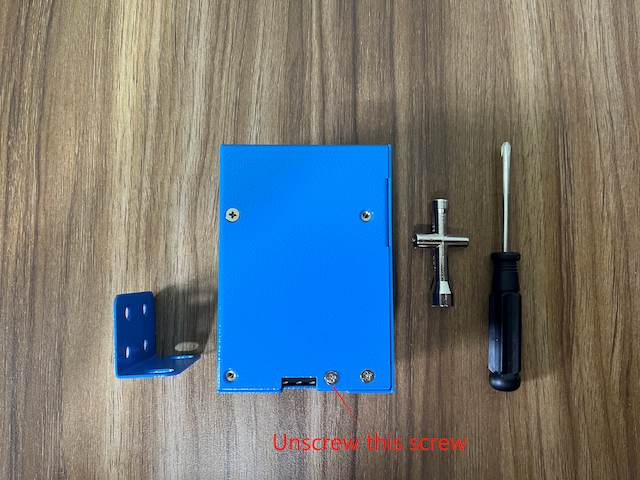
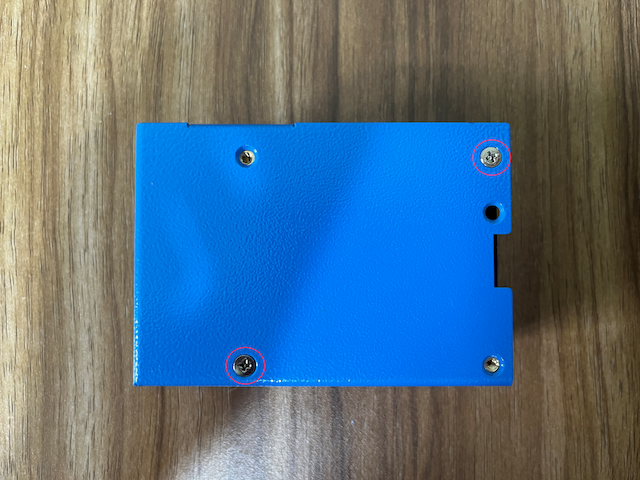
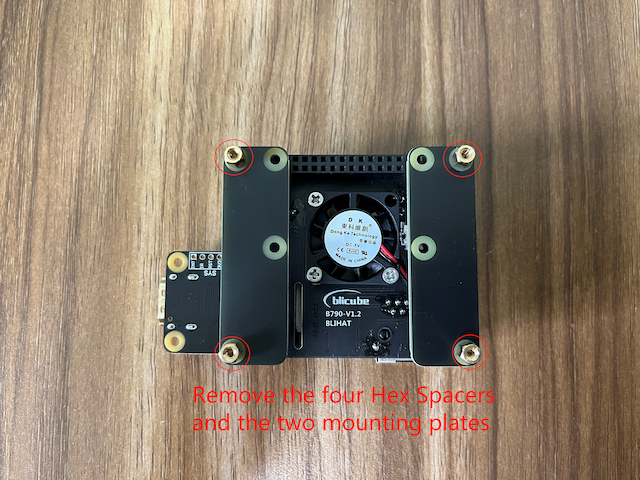
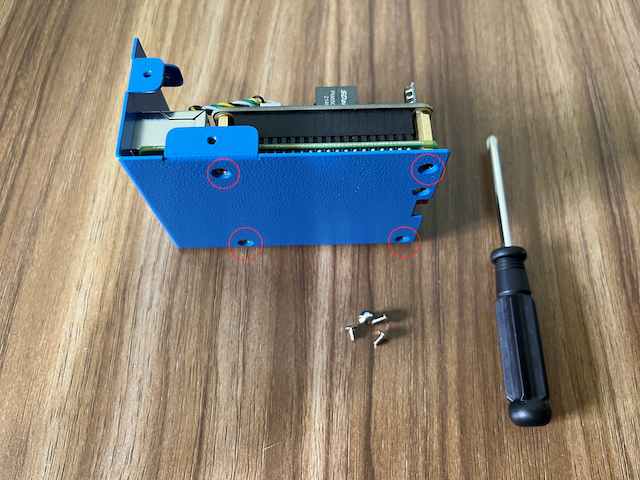
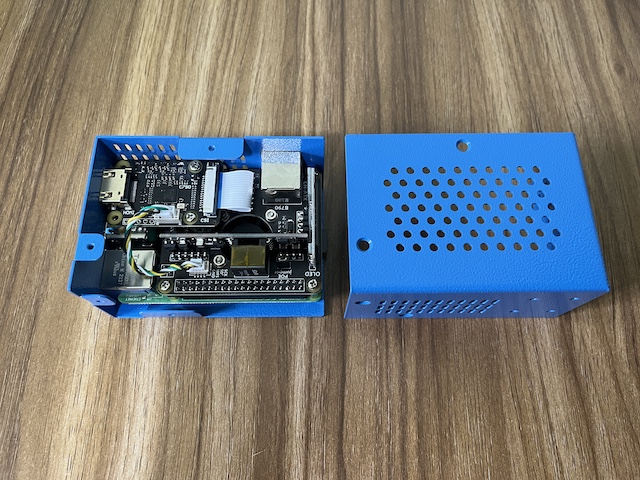
卸下外壳背面的如图中所示的螺丝
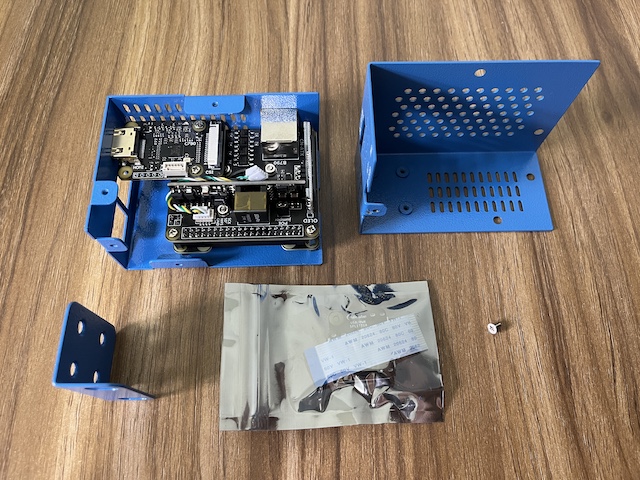
打开外壳
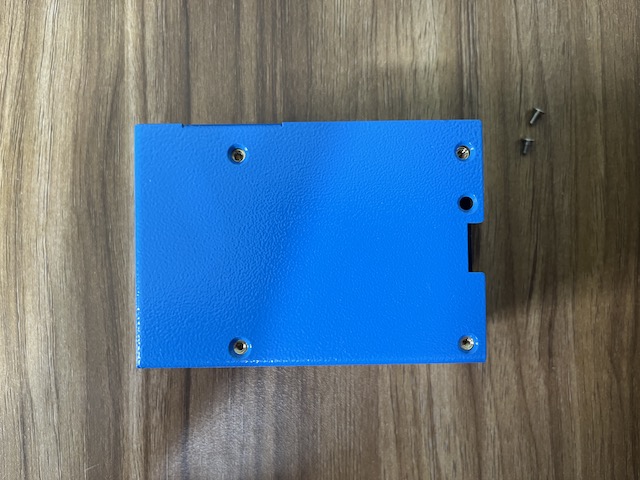
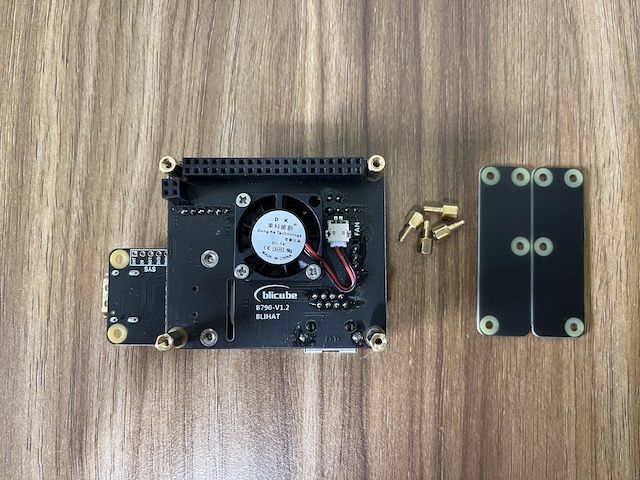
卸下背面剩下的螺丝
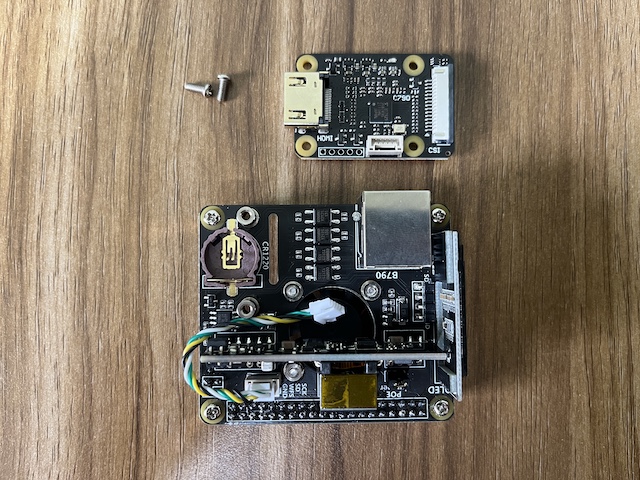
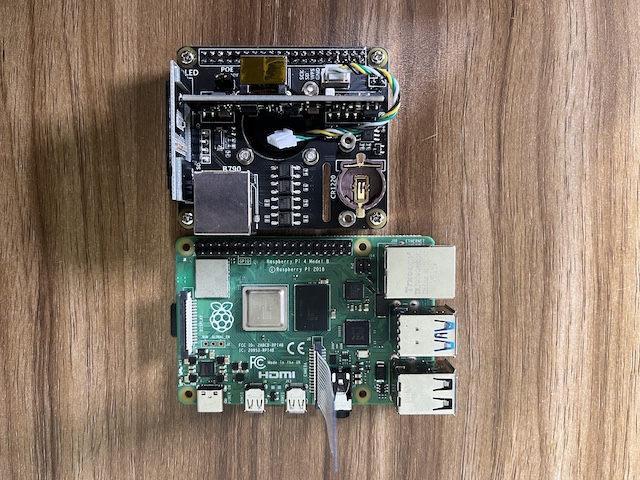
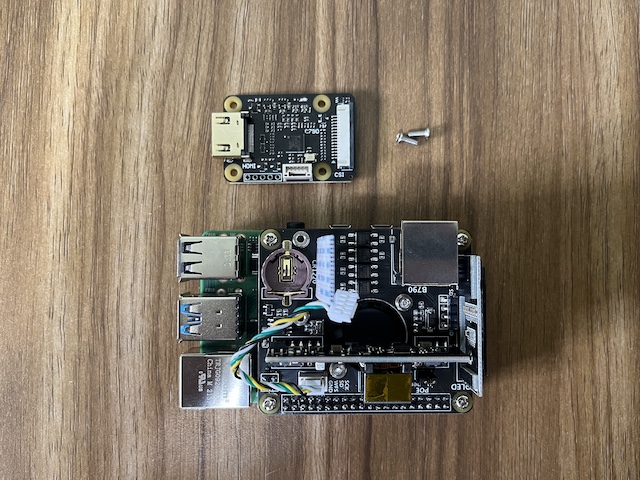
打开配件包,拿出图片中的设备
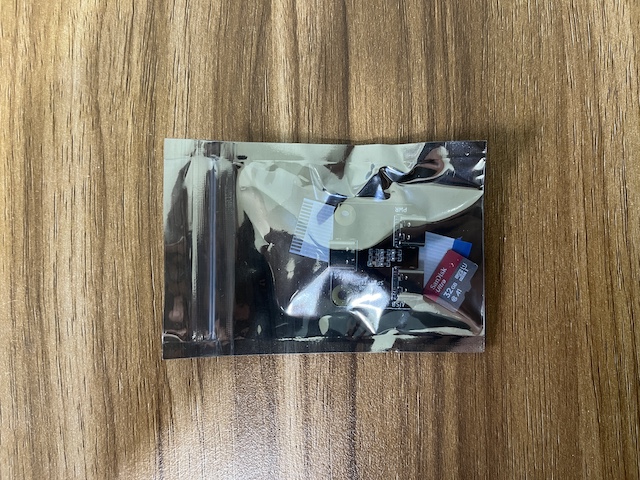
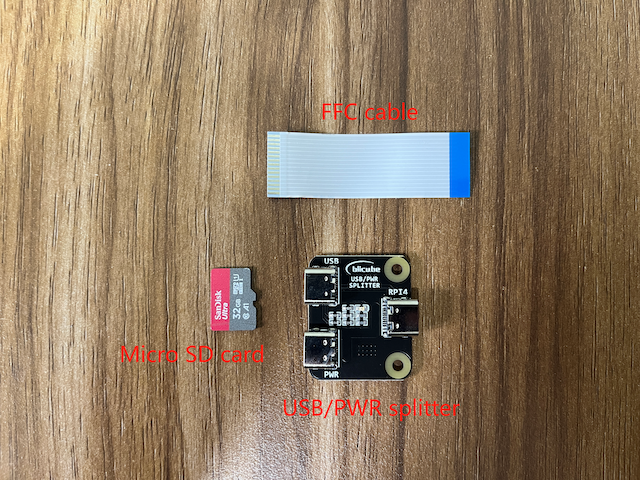
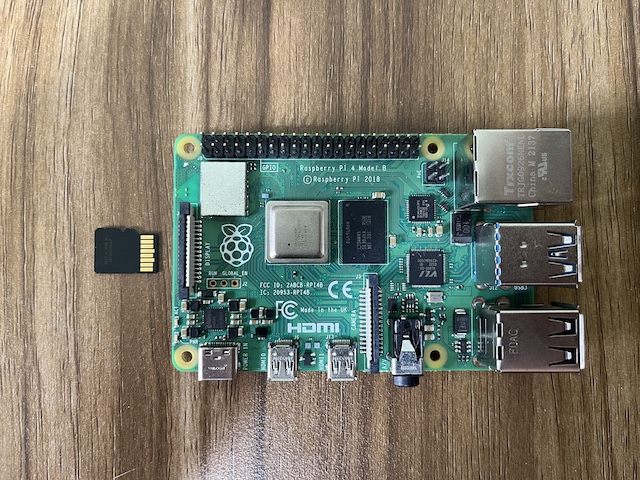
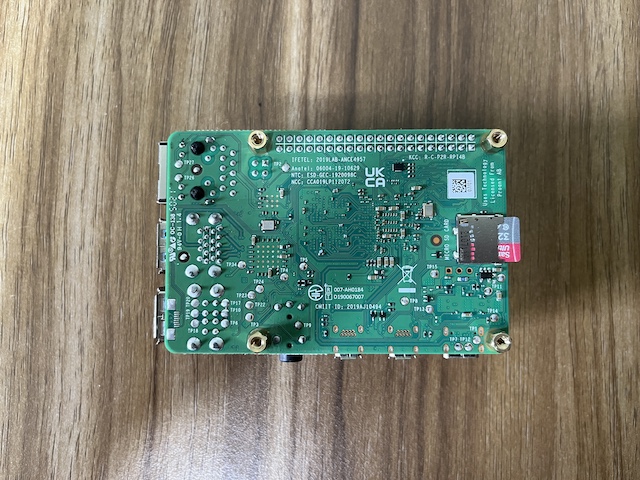
安装SD卡
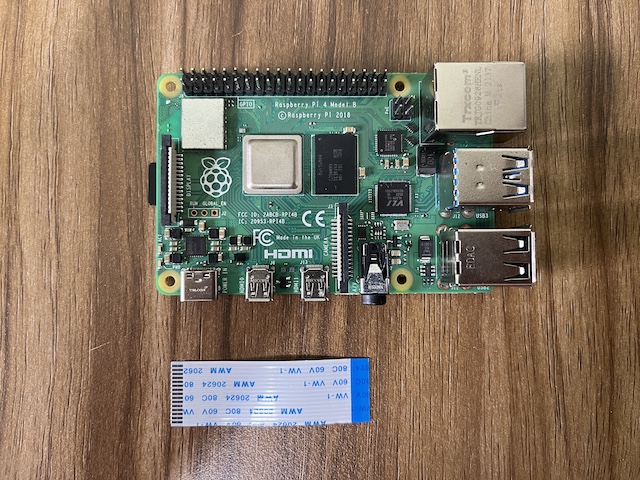
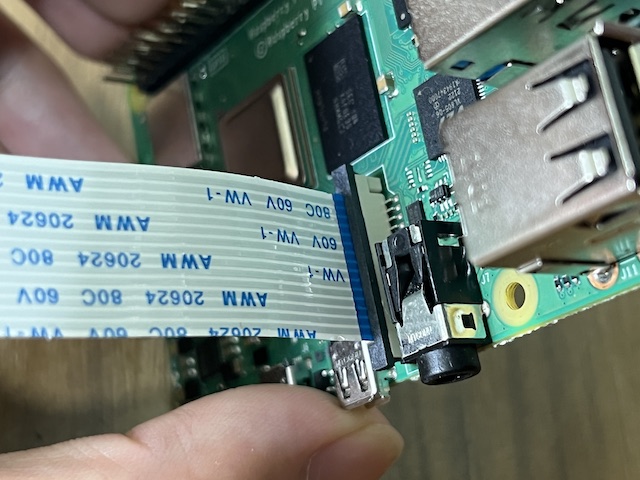
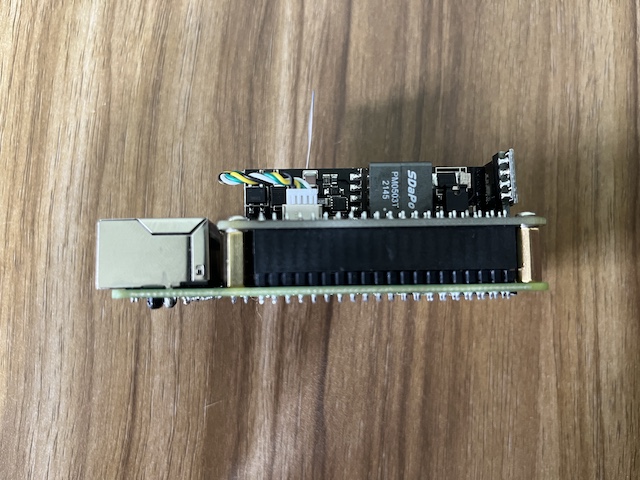
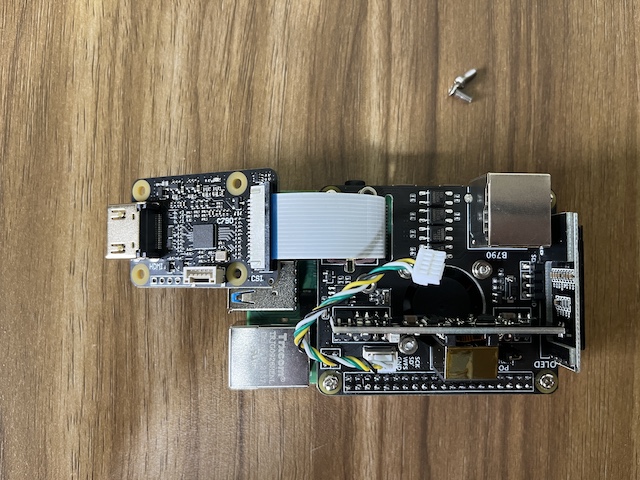
安装FFC线缆
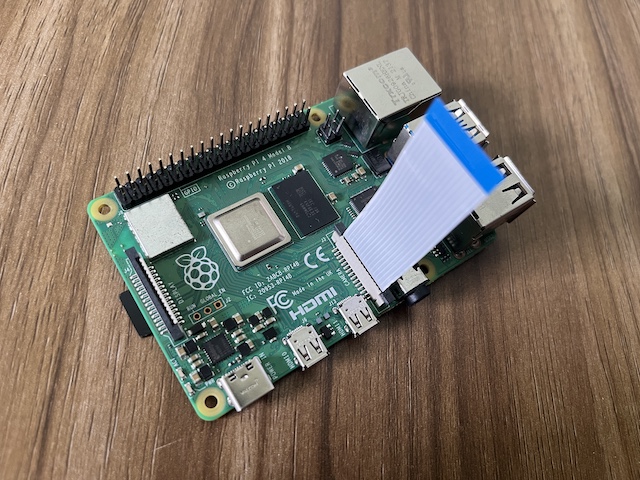
安装Hat到树莓派4B上
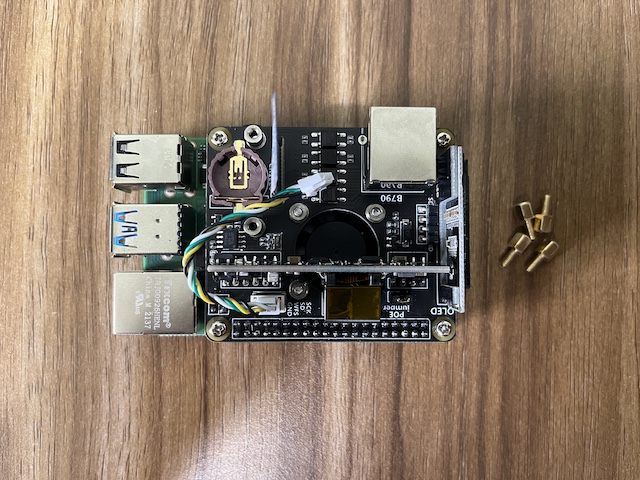
安装4颗铜柱

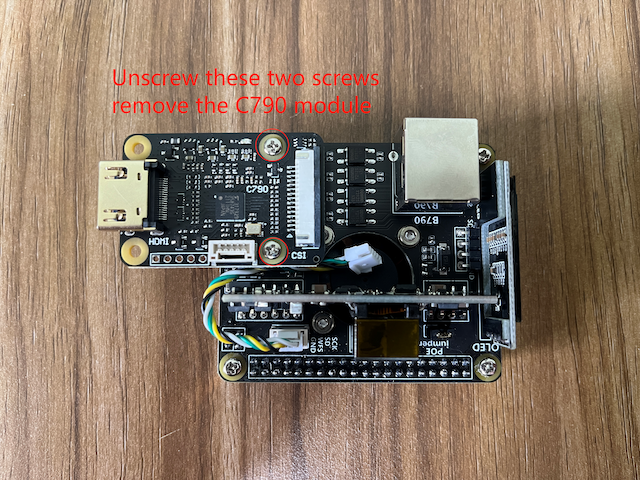
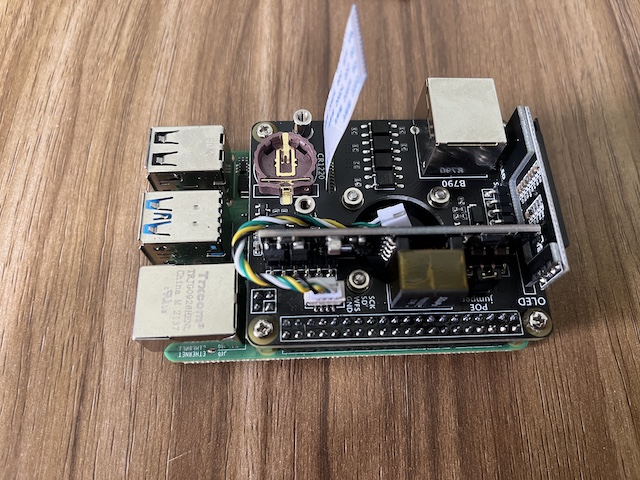
安装C790模块到Hat上,使用你卸下来的长螺丝
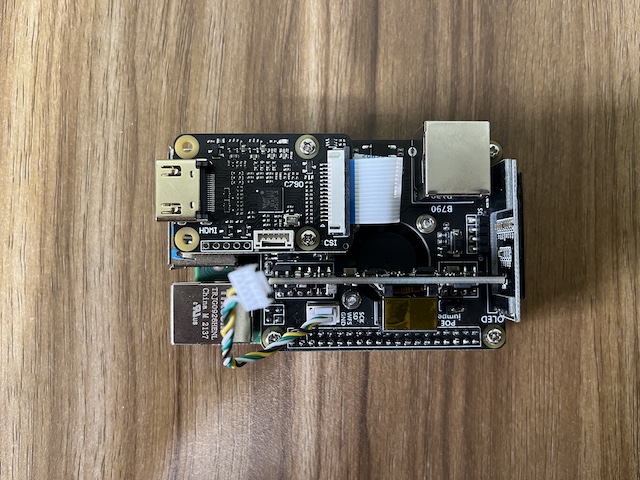
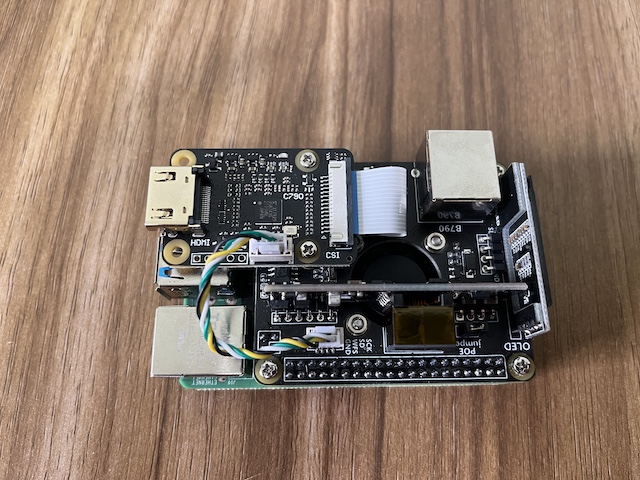
安装音频线缆
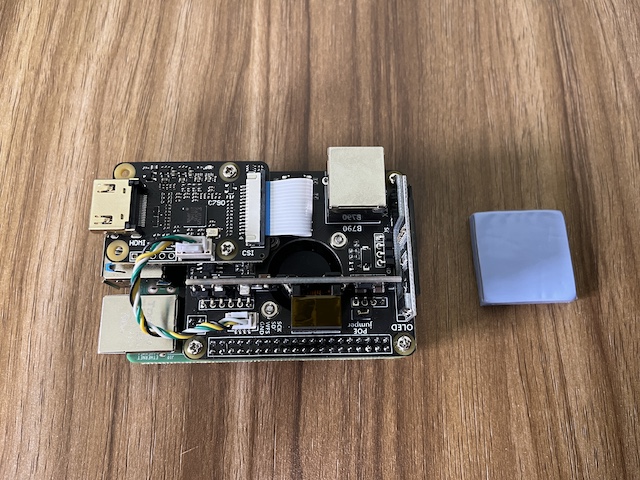
撕去硅胶片上的保护膜,将其贴到树莓派如图所示的位置

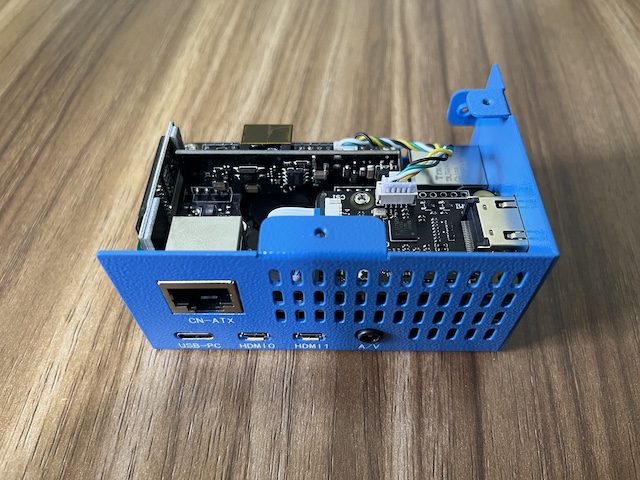
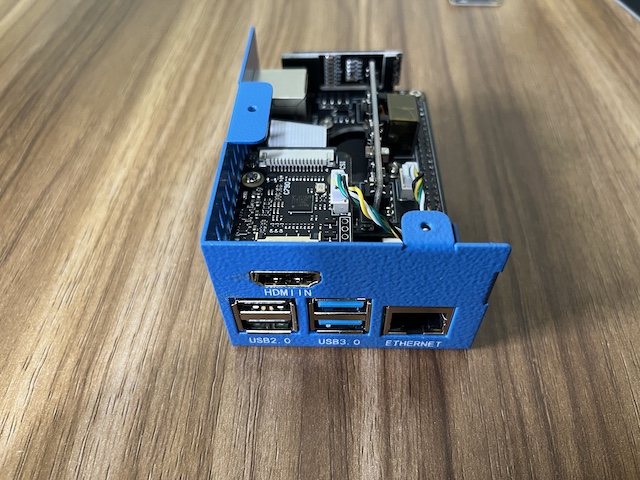
Install the HAT into the case
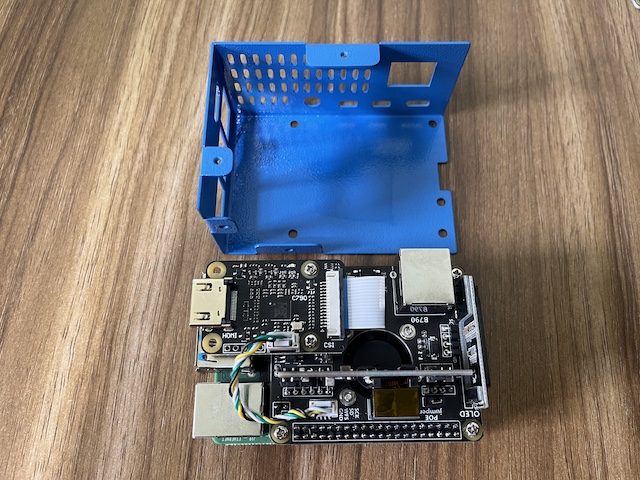
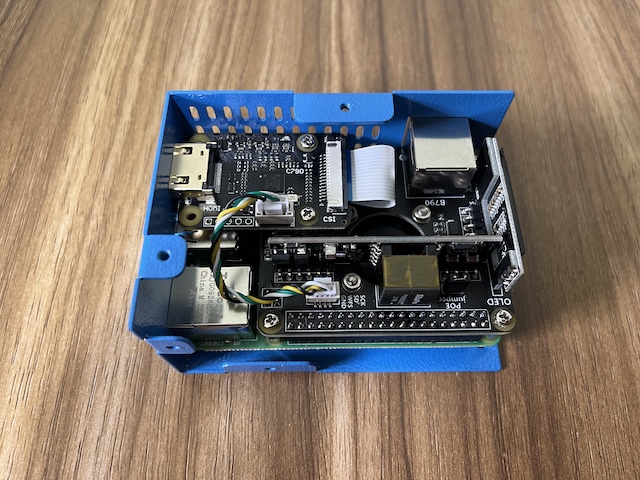
Pay attention to the alignment of the holes
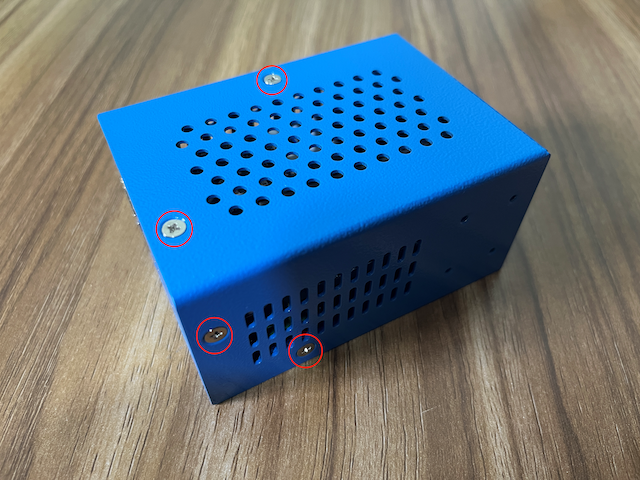
Flip to back and install 4 screws
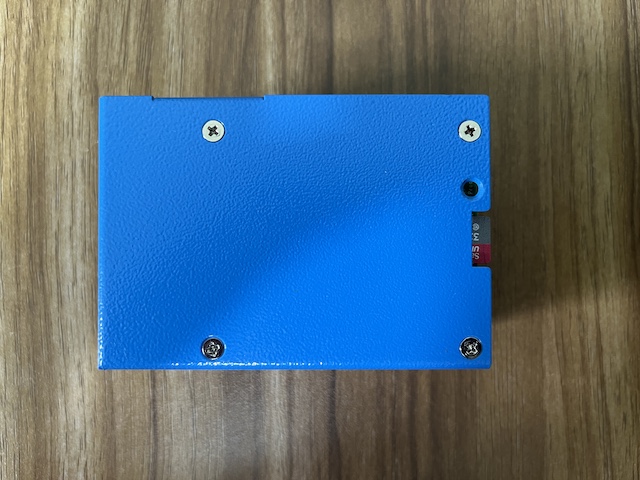
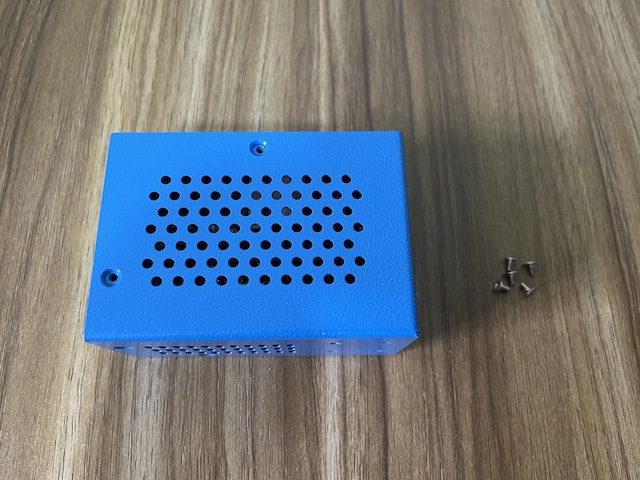
Install five case screws

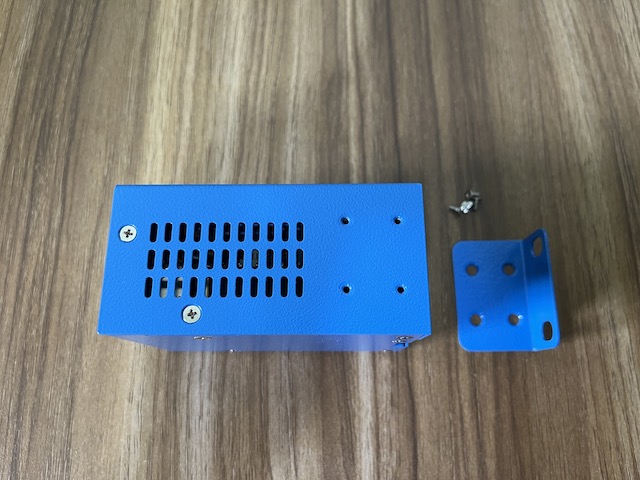
Install the mounting ear as needed
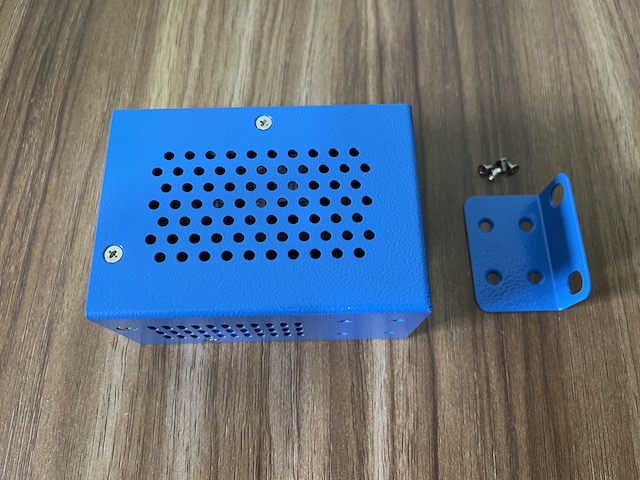
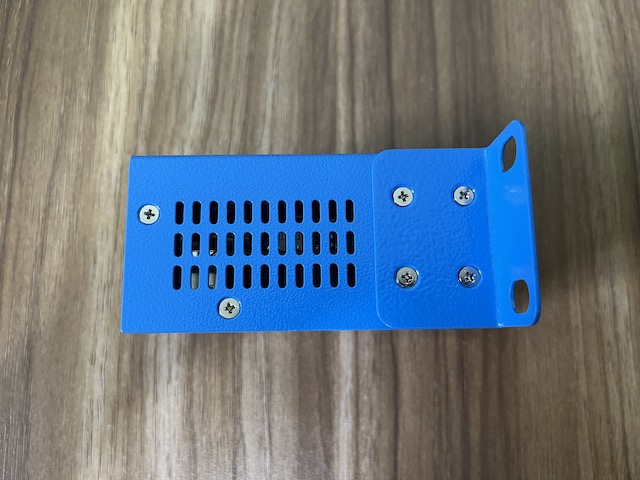
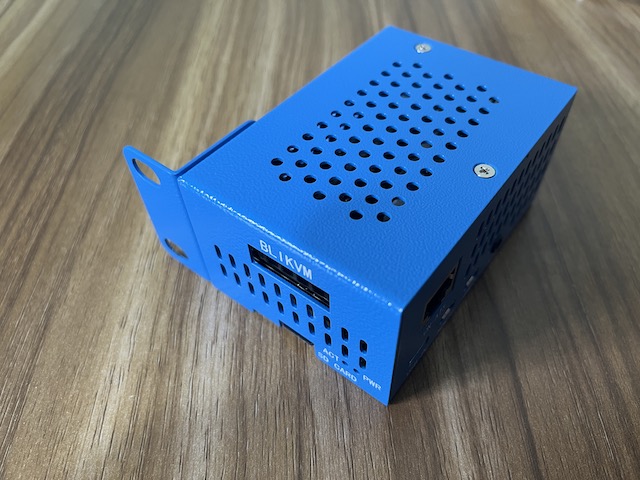
The main device installation is complete
Last update:
September 18, 2022
Created: August 8, 2022
Created: August 8, 2022