Flashing the OS image
Micro-SD Card Requirements
- Minimum 16 Gb
- Class 10 is strongly recommended
为什么软件有BLIKVM和PiKVM两个版本?两个版本有什么区别?我应该选择哪个?我可以用PiKVM官方镜像吗?
- BLIKVM项目诞生之初先研发了硬件,软件直接使用了PiKVM。随着项目的不断进行,BLIKVM自研了自己的全新架构的软件版本,也同时为更深度的和自己的硬件配合做好基础;
- BLIKVM和PiKVM最核心的功能对用户来说是一致的,一些细分功能不太一样,如BLIKVM支持多语言;
- 需根据您自己使用感受去选择;
- 可以使用PiKVM官方镜像,但需要您根据硬件的不同做一些适配,主要涉及到的有屏幕、风扇等,因PiKVM官网镜像一直再更新,所以具体适配情况需根据当时您使用具体遇到的情况再看;
Download the image
目前BLIKVM os全版本提供,pikvm os目前只提供了v1 v2 v3,需要v4上运行PiKVM的用户可以参考此说明。
BLIKVM software
You可以从下面的链接中下载BliKVM v1 CM4, v2 PCIe, v3 HAT, v4 Allwinner的BliKVM镜像, v1 v2 v3使用同一个镜像。
- BLIKVM image
Web UI风格如下:
Base on PiKVM software
基于PiIKVM的镜像,树莓派4B和CM4不公用一个镜像,进入链接后可看到以各硬件版本(HAT CM4 PCIe)命名的镜像。
Flash the image
Tip
Ignore request to format your sd card, this step is not nessessary. Choose the most suitable method for you. How to flash the eMMC on a Raspberry Pi Compute Module 4
Board Link
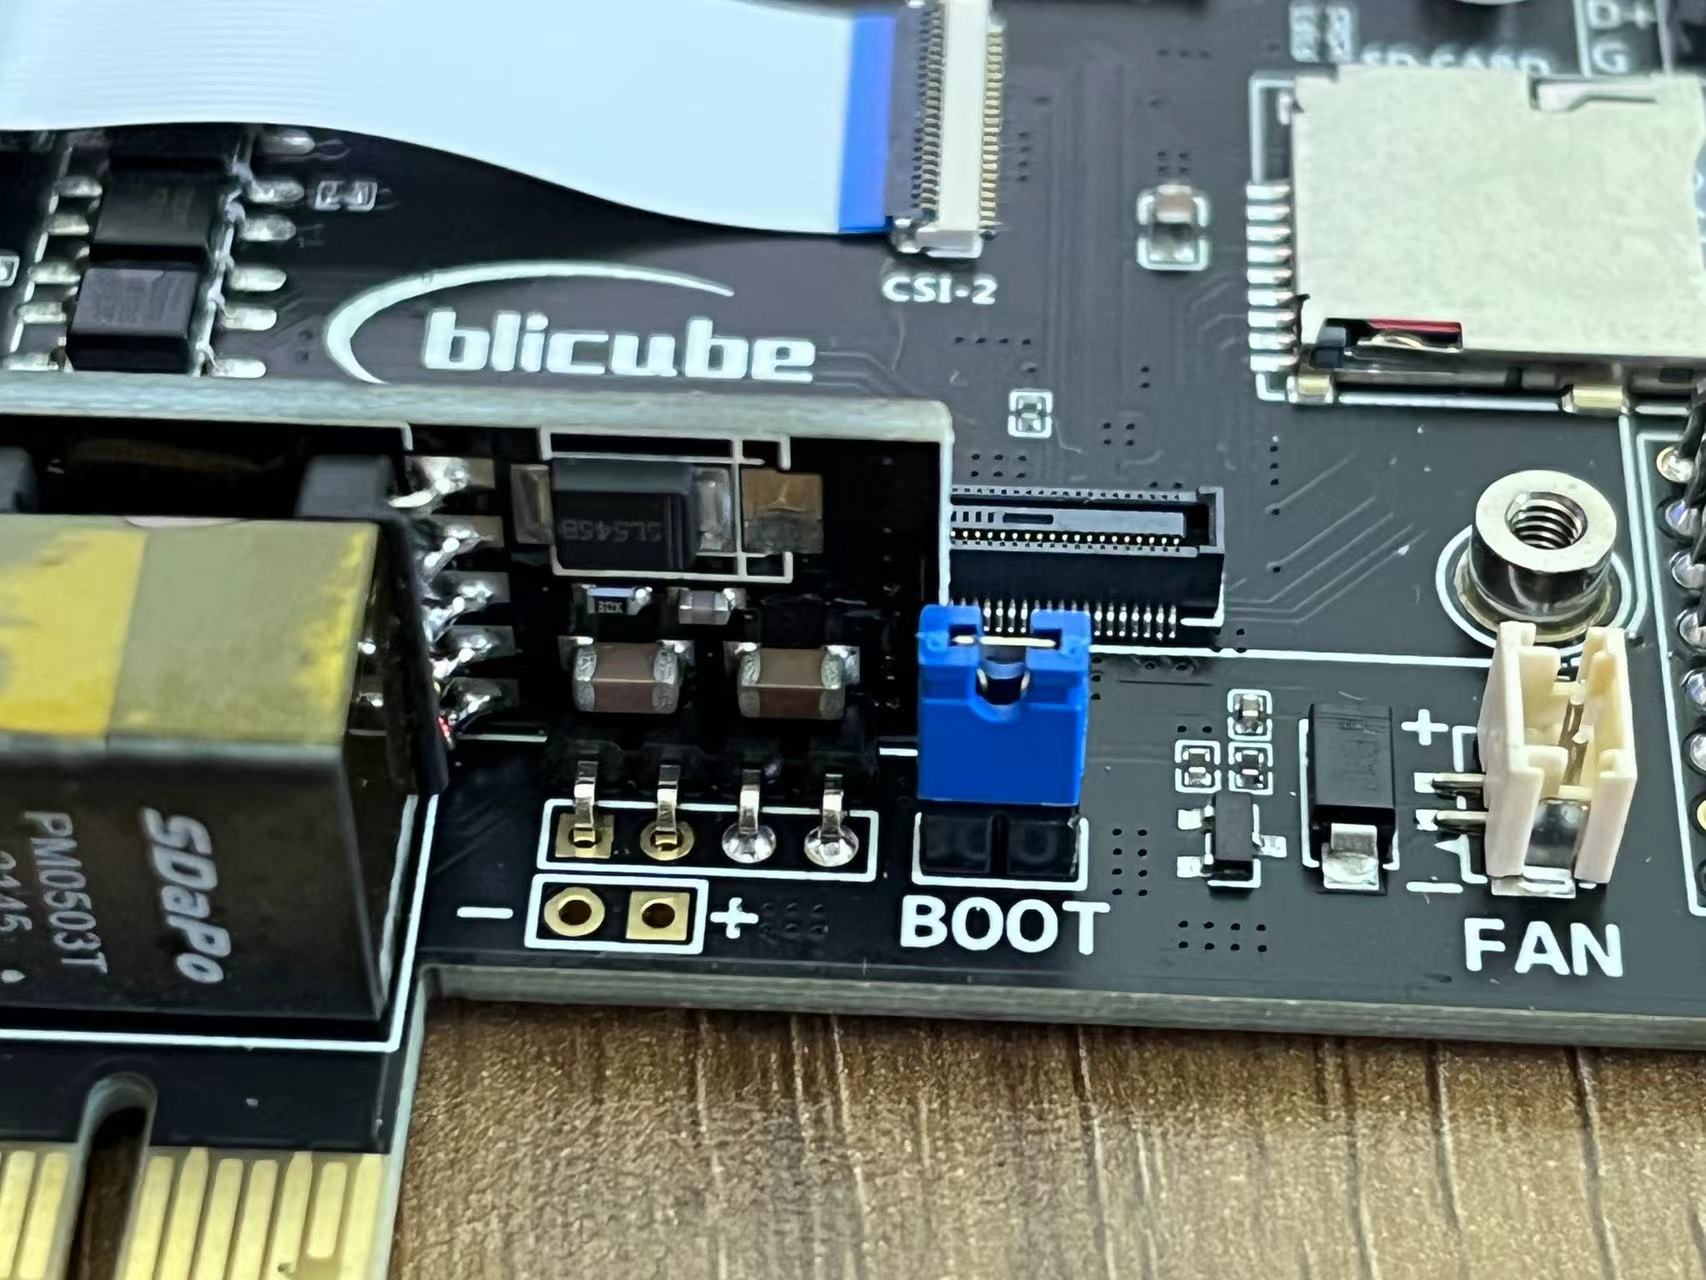
如果你使用的CM4是含eMMC的版本,如CM4102016型号。你可以使用v1和v2硬件直接对CM4的eMMC进行烧录。如果你的CM4不带eMMC,而是使用SD卡,你则不需要看此章节。首先在blikvm硬件上对CM4的eMMC进行烧录,你需要先短接boot引脚。
If you use BLIKVM CM4 version
Then connect the data cable to the USB OTG interface. Power on blikvm and observe the act light, the green light is always on.

If you use BLIKVM PCIe version
Then connect the data cable to the USB-PC interface. Power on blikvm and observe the ACT and PWR LED isn't light.
After initialize EMMC through the usbboot/rpiboot, the ACT and PWR LED light is always on.

EMMC knowledge
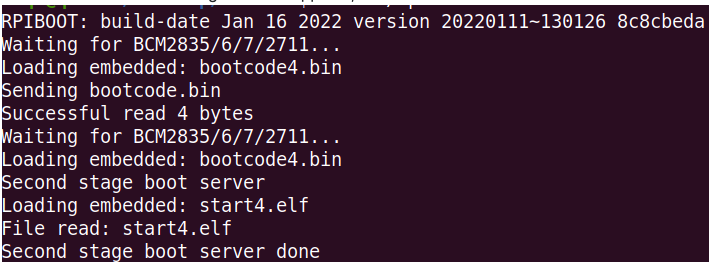
If you use raspberry pi computing modules such as CM3 or CM4 EMMC,you can initialize EMMC through the usbboot. Note that the EMMC version cannot directly use the SD card to start the image. From this video you can learn how to flash image quickly.How to flash the eMMC on a Raspberry Pi Compute Module 4 video
Taking Ubuntu system as an example:
Linux usbboot
If you use an Micro-SD Card, you don't need to care about that.
# sudo apt-get install libusb-1.0-0-dev
# git clone --depth=1 https://github.com/raspberrypi/usbboot
# cd usbboot
# make
# sudo ./rpiboot
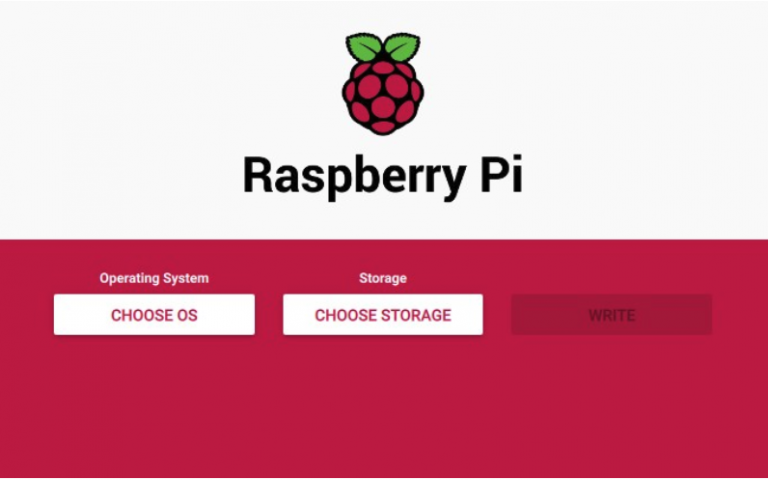
Using RPi Imager (Linux, MacOS and Windows)
-
Download and install the latest version of RPi Imager.
-
Run RPi Imager:
-
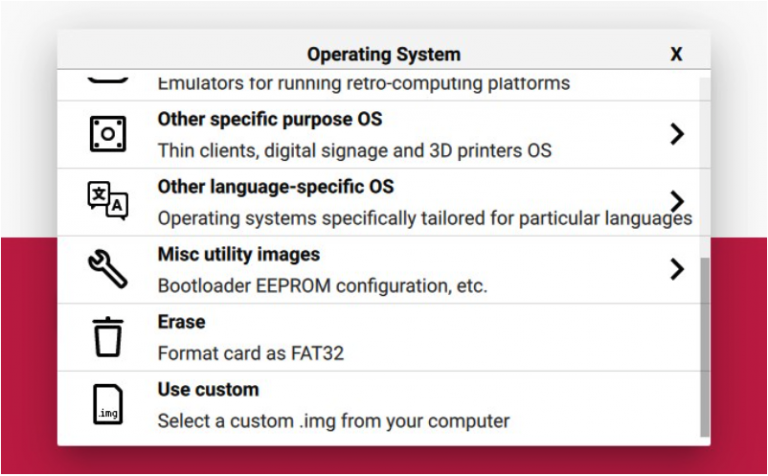
Press CHOOSE OS and select Use custom image at bottom of the list:
-
After clicking on this item, select the image file (
.img.xz), then click CHOOSE STORAGE:

-
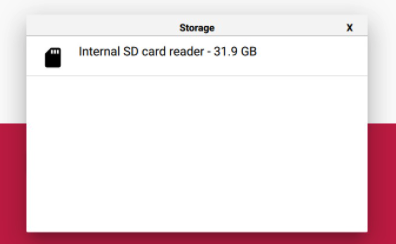
Insert the memory card into the card reader. Choose the card reader from this list. Be careful and choose the right device:
-
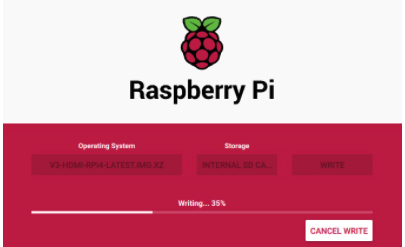
After choosing the memory card, press the WRITE button. Confirm the operation when you are asked about it:

-
Wait for the process to finish. Get yourself a coffee or do some stretching :)
Tip
The process may hang at 99% for a long time, this is okay, just wait for it to complete
8.Remove the memory card after successful completion:
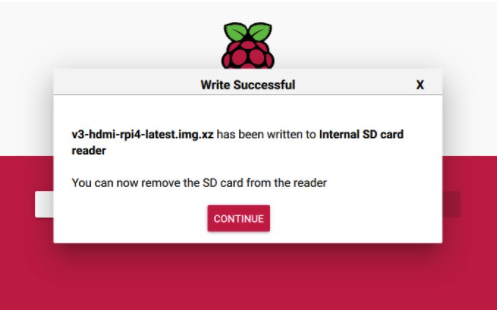
Tip
If an error occurs during flashing or booting PiKVM, repeat the process.
Created: June 4, 2022