BLIHAT Installation Guide
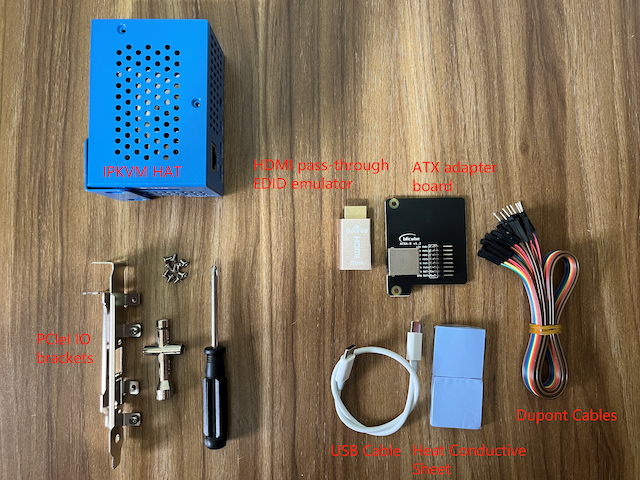
1. Unpack and take out the devices
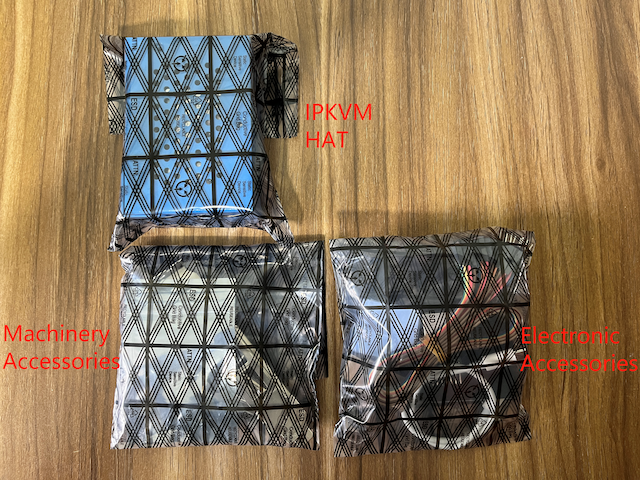
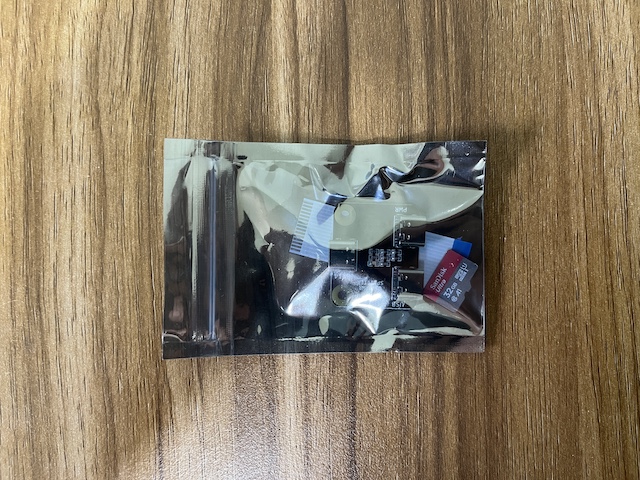
Open the protective bag
2. Install the main device
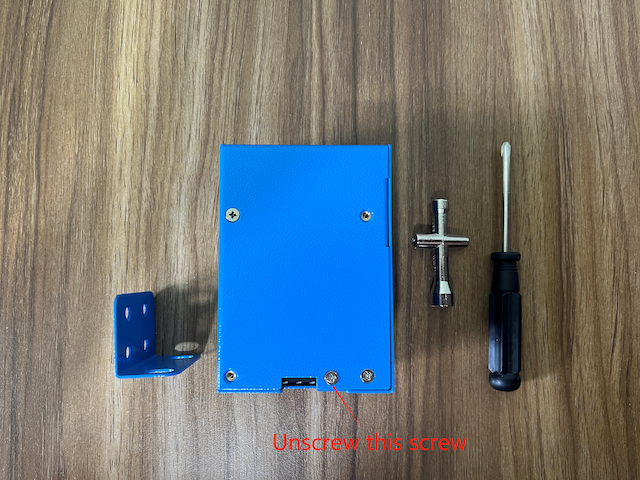
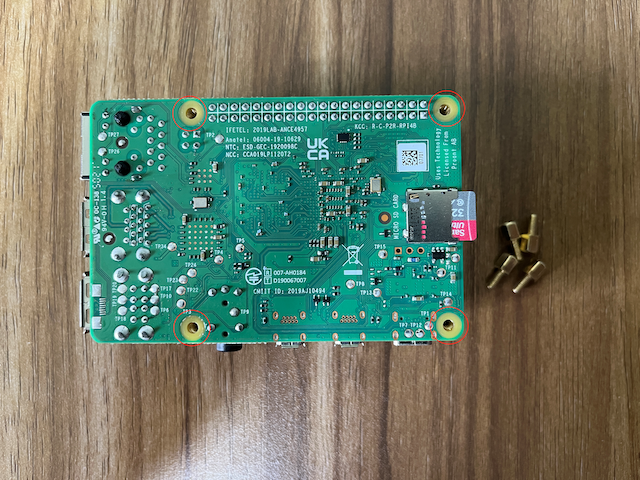
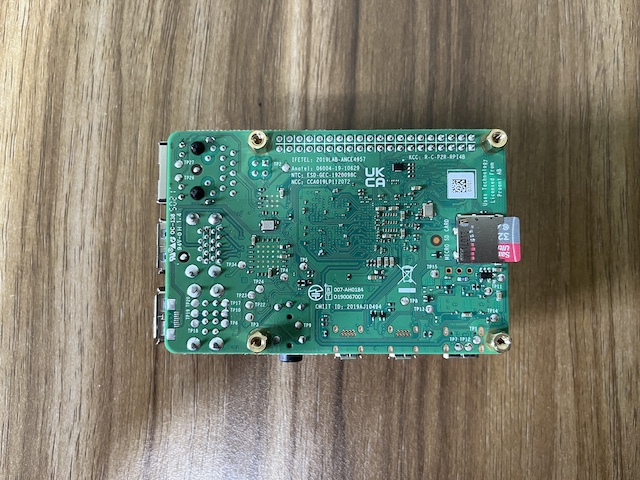
Flip to back
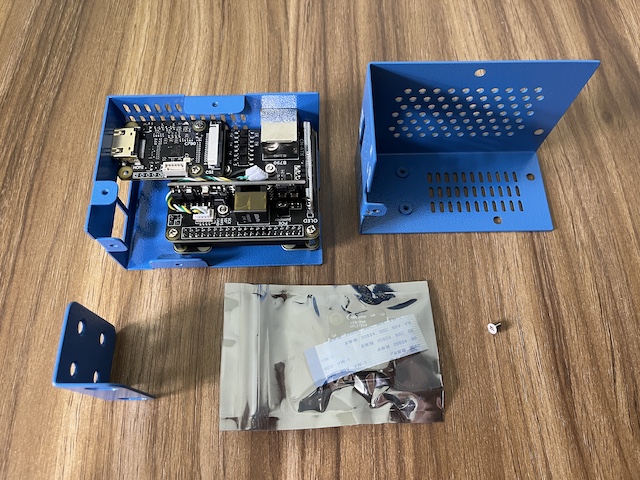
Open the case
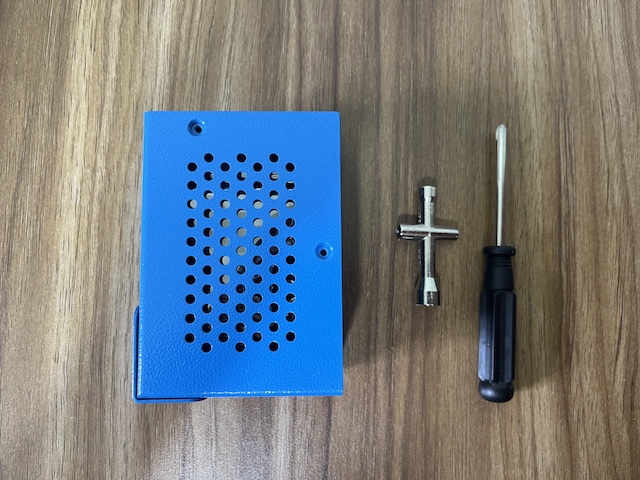
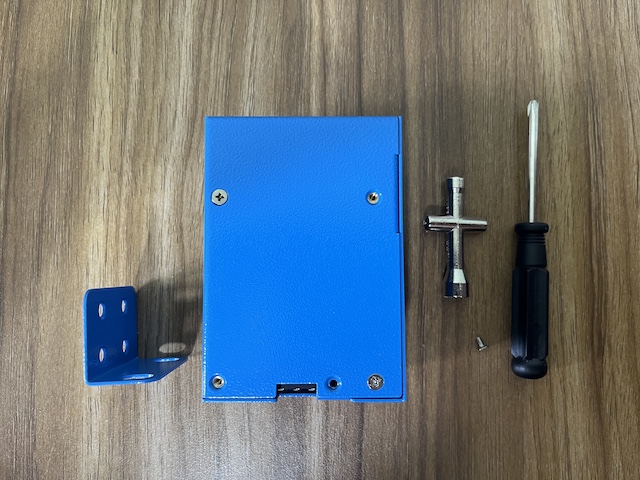
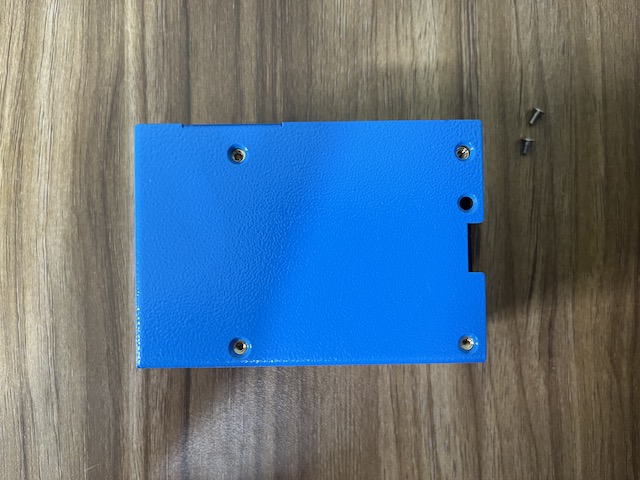
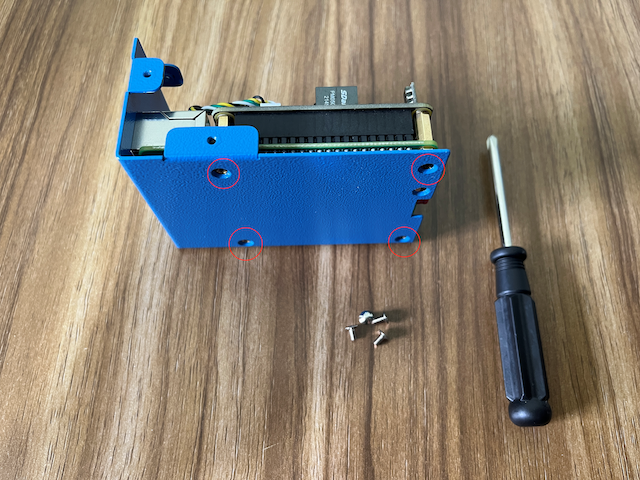
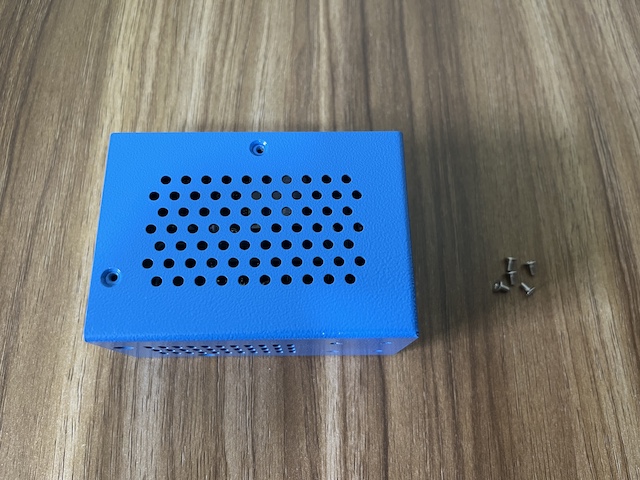
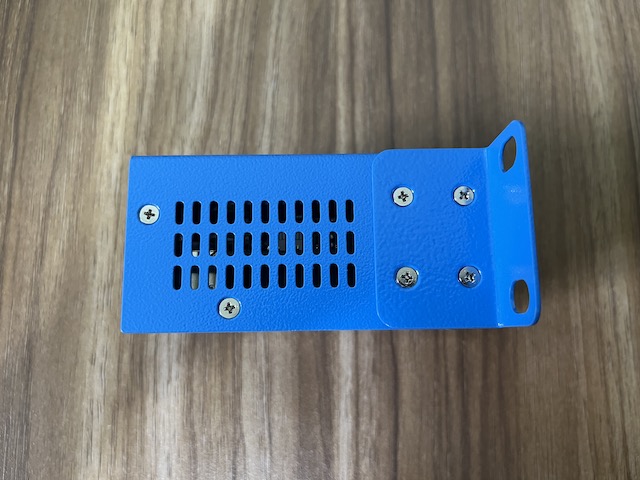
Flip to back, unscrew the two screws on the back
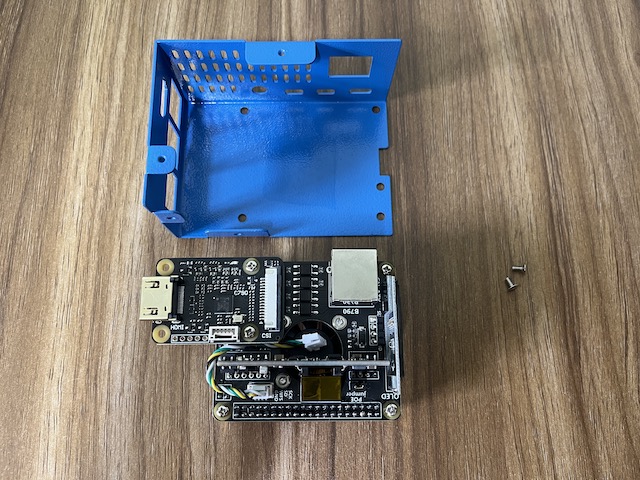
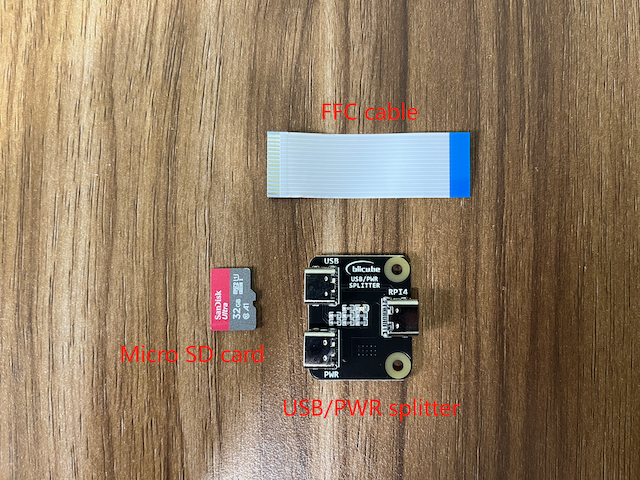
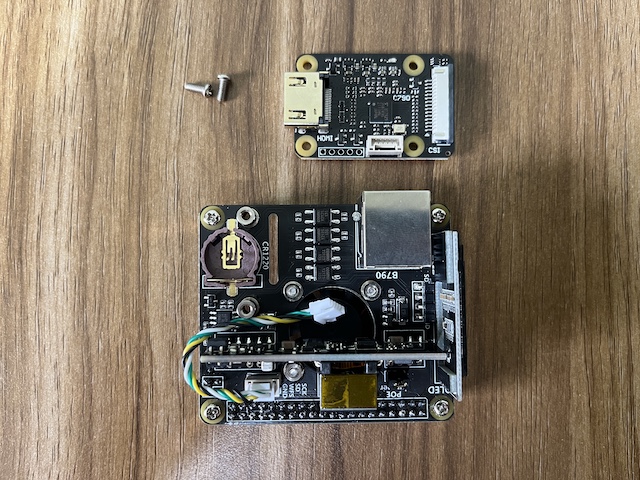
Open the protective bag and take out the parts
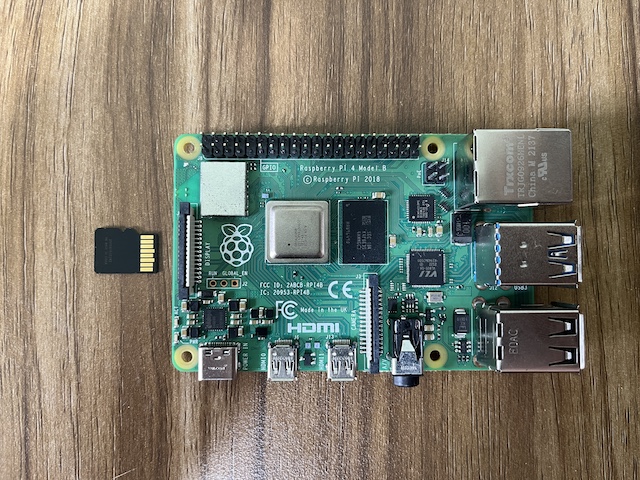
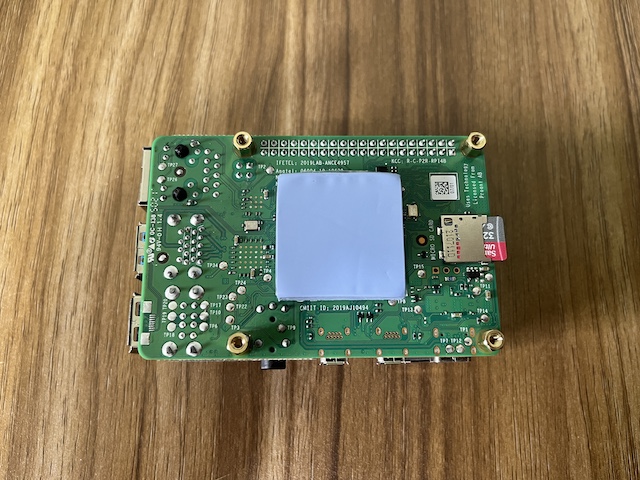
Install Micro SD card
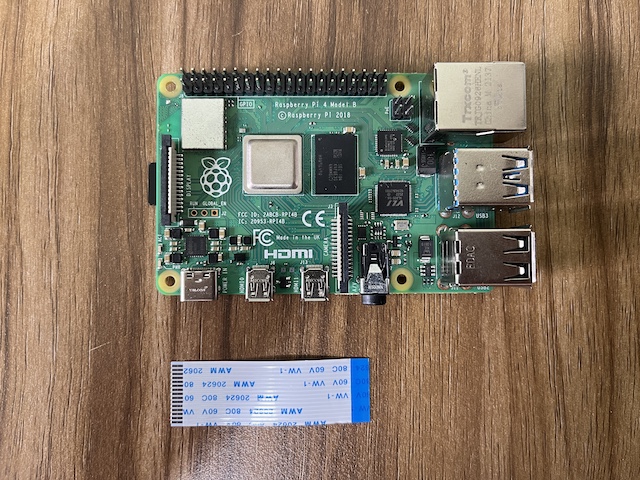
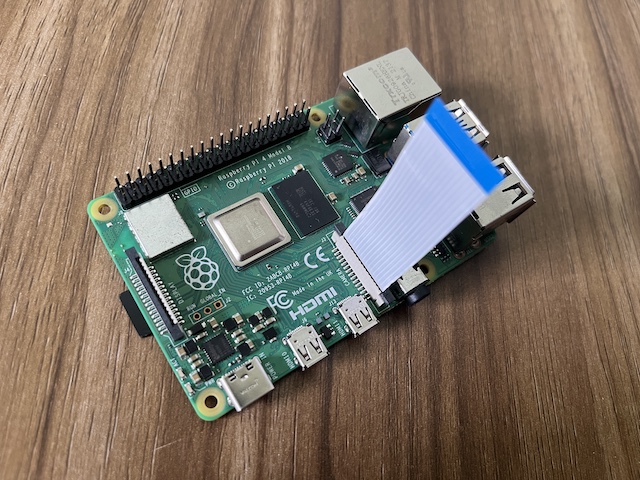
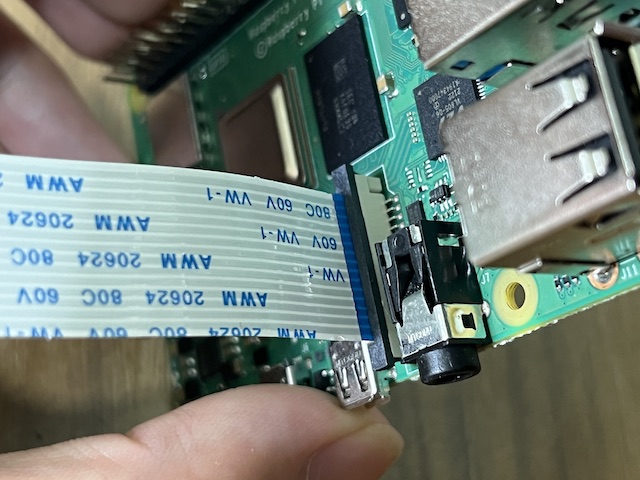
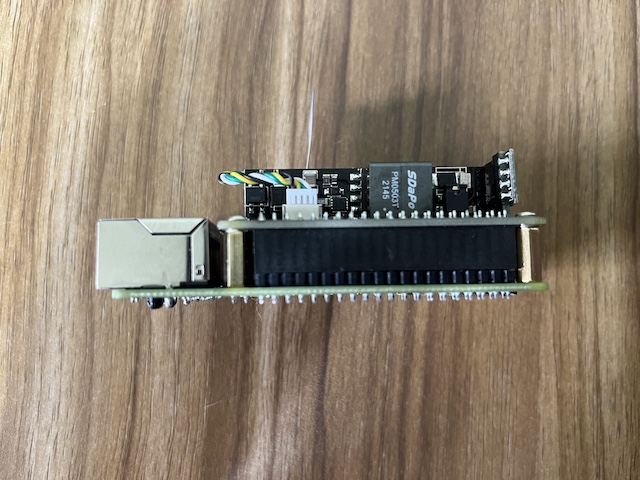
Install the FFC cable
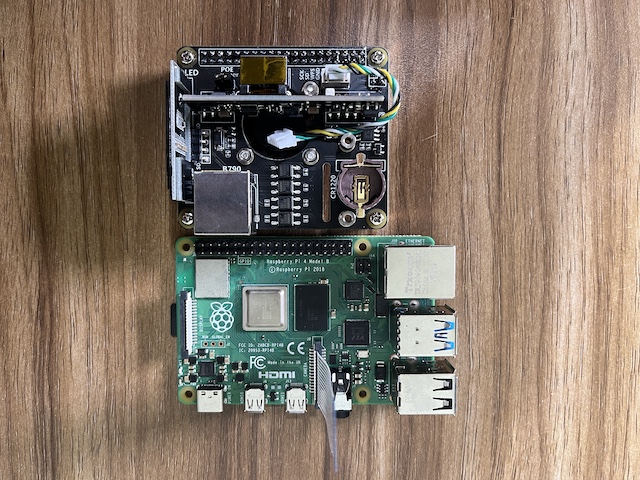
Install the HAT on the Raspberry Pi 4
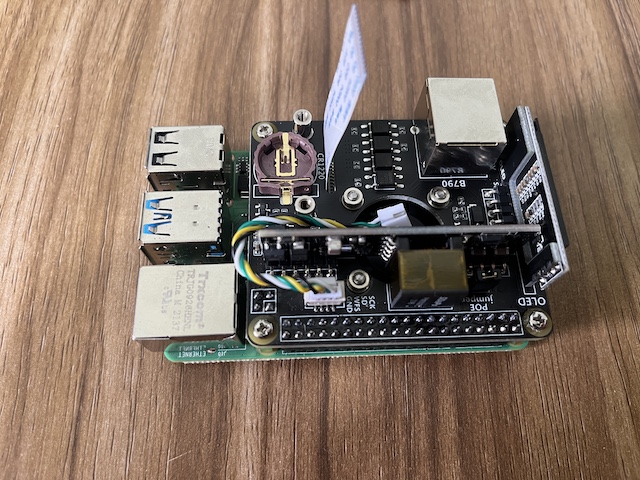
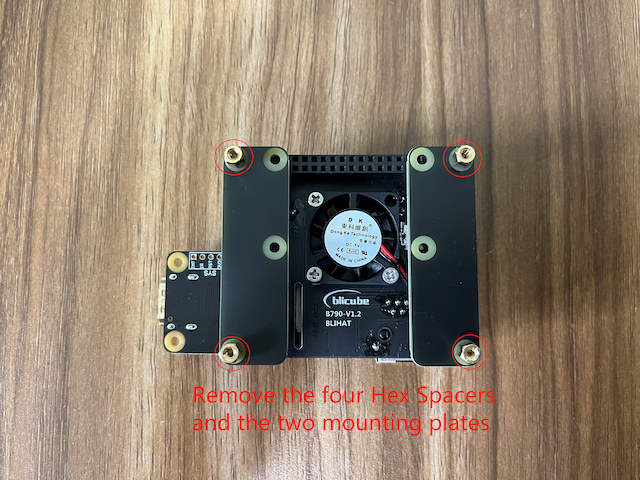
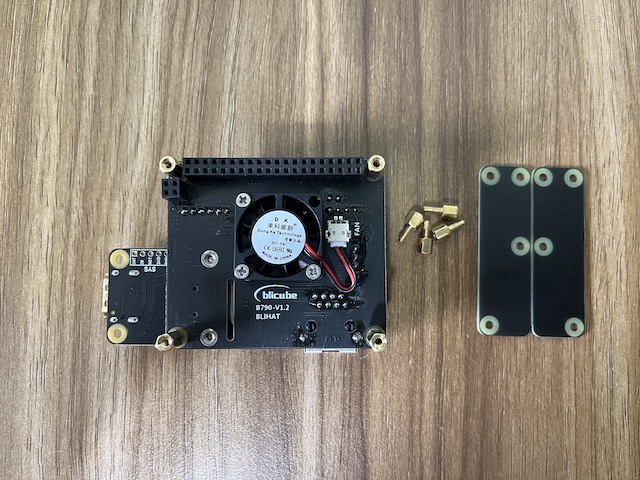
Install the four Hex Spacers
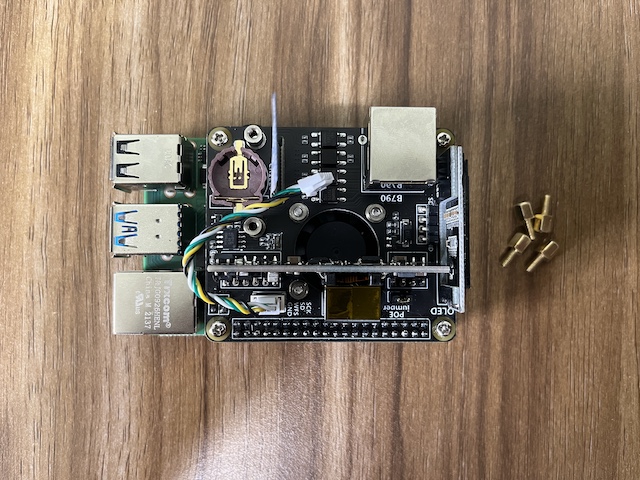
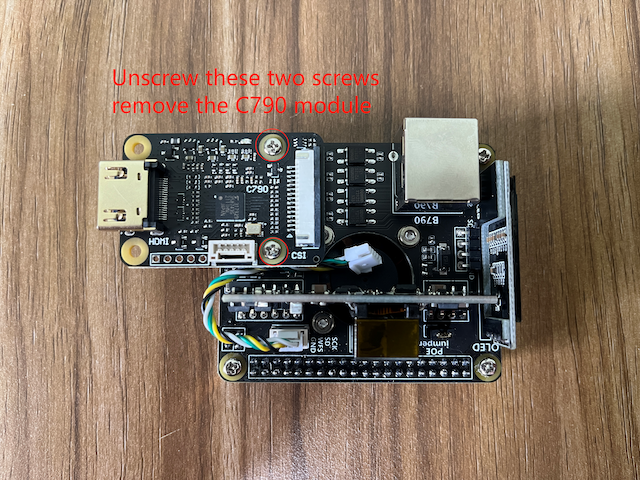
Install the C790 module, use the long screws you just removed
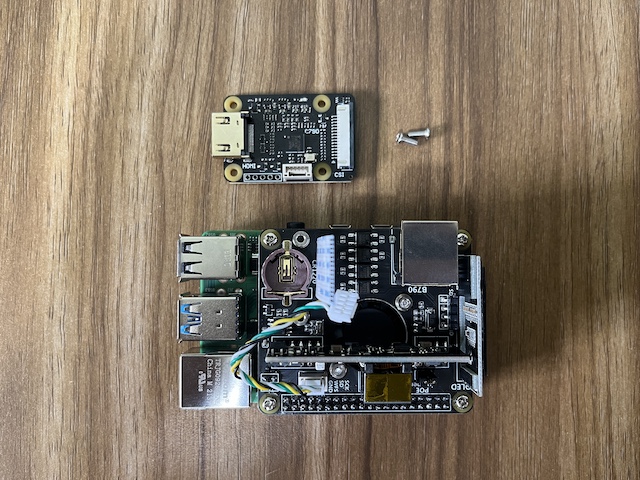
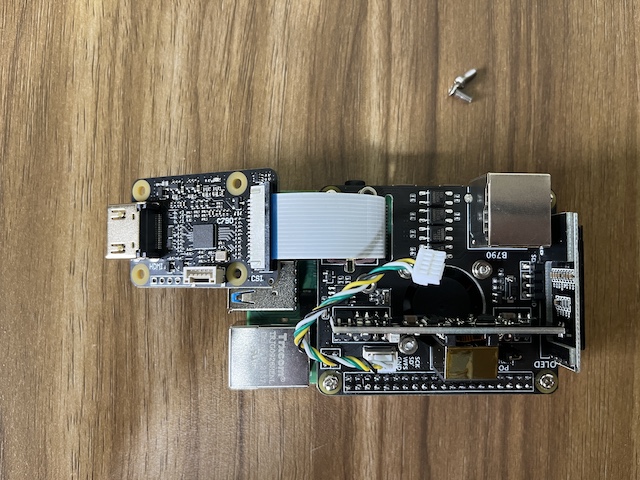
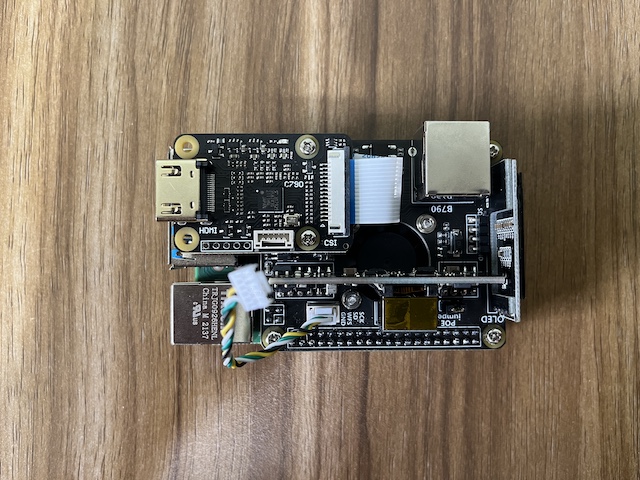
Install the audio cable
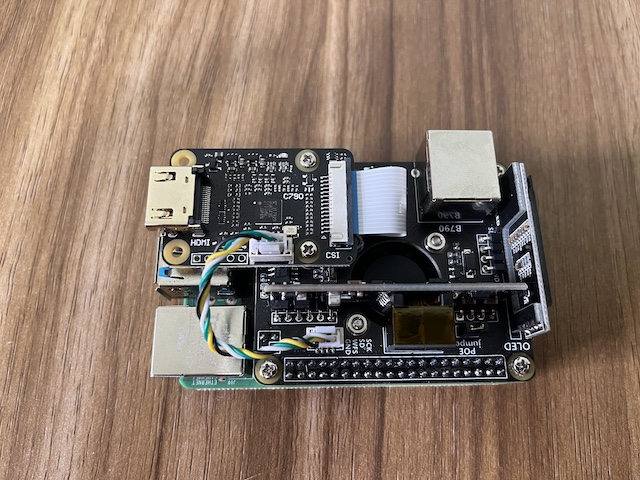
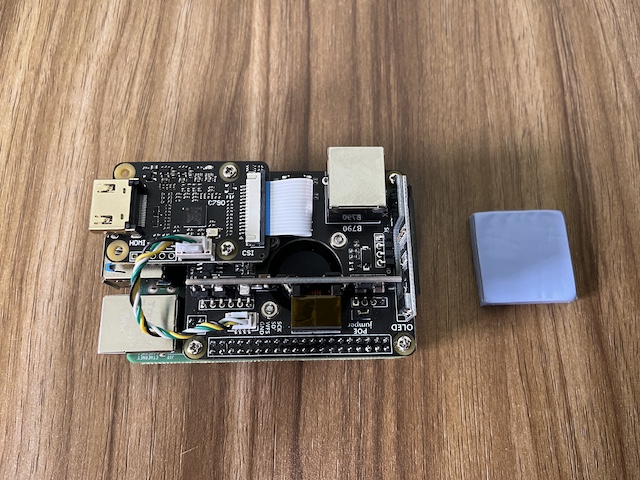
Stick a heat conductive sheet on the back of the Raspberry Pi 4, tear off the protective film of the sheet
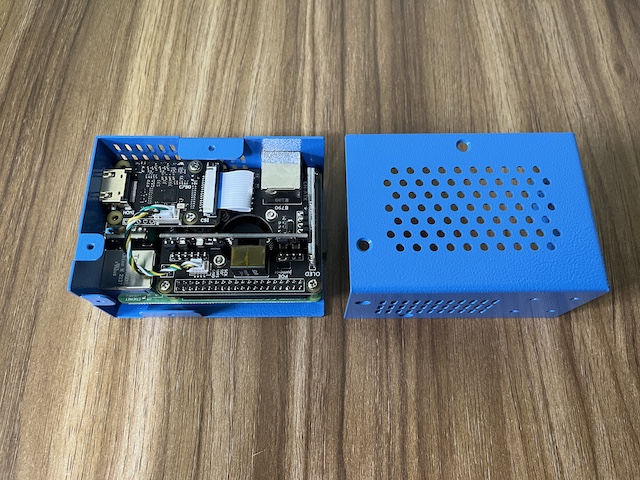
Install the HAT into the case
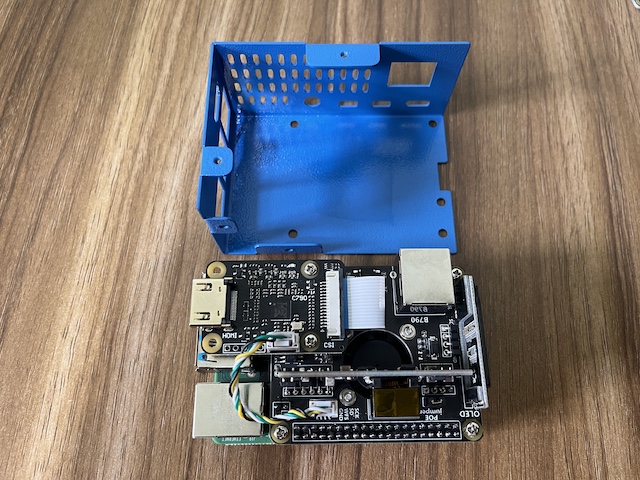
Pay attention to the alignment of the holes
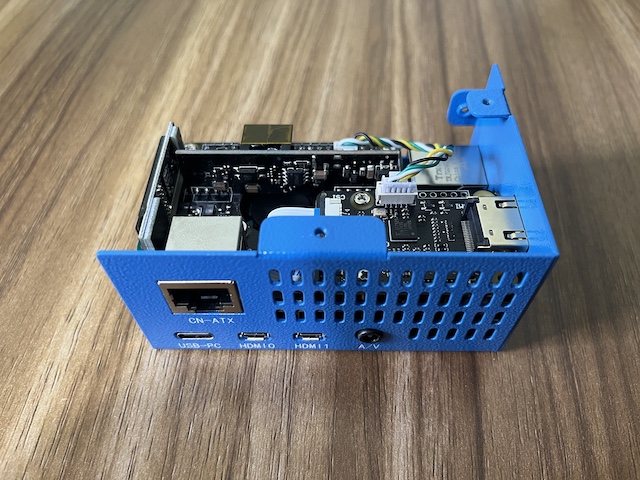
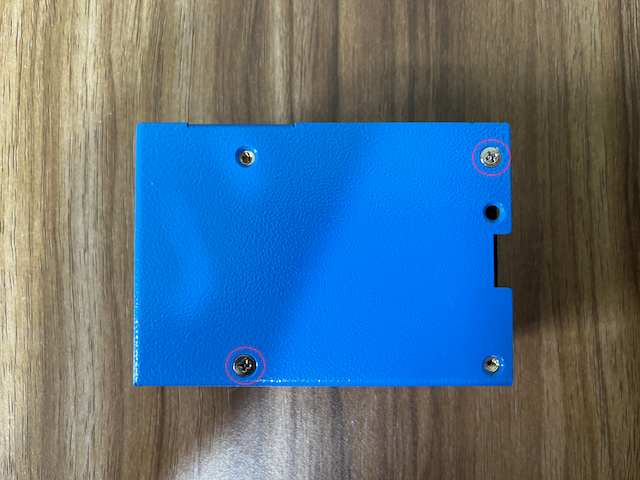
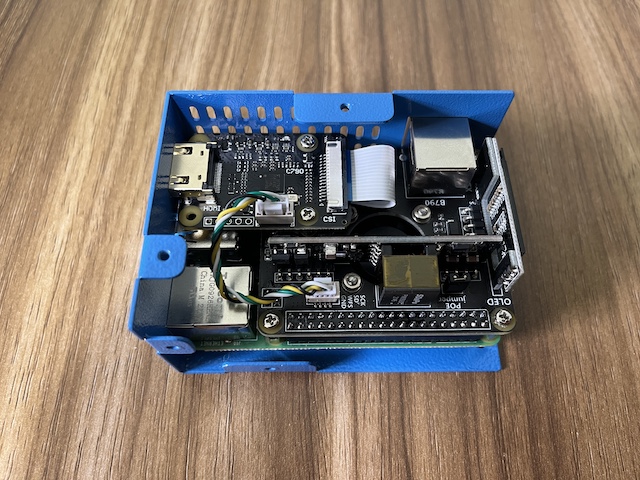
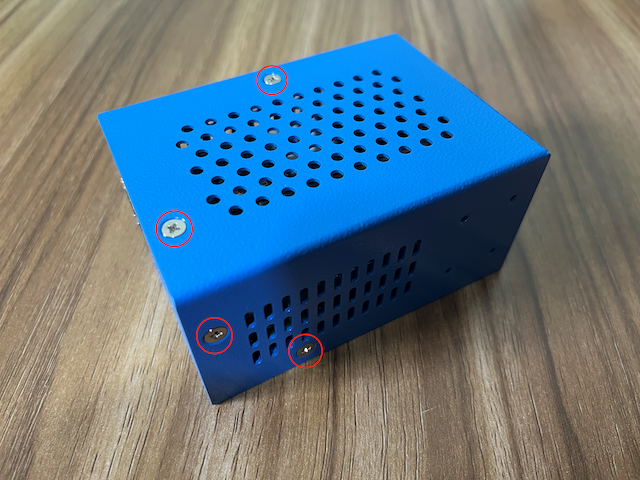
Flip to back and install 4 screws
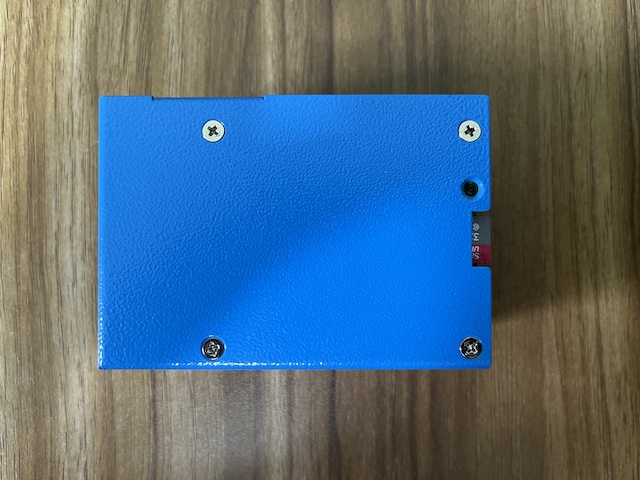
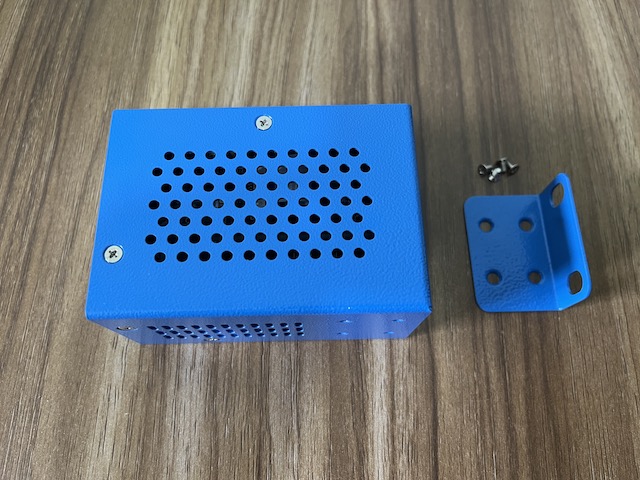
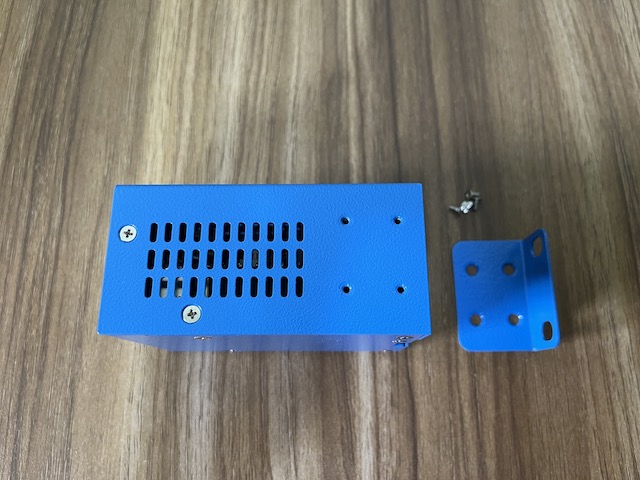
Install five case screws

Install the mounting ear as needed
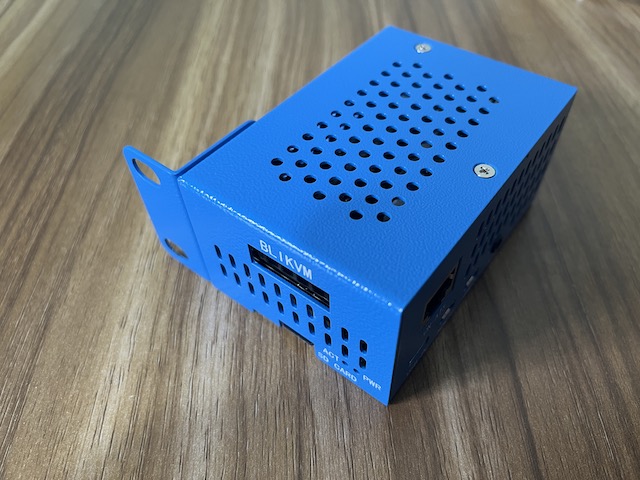
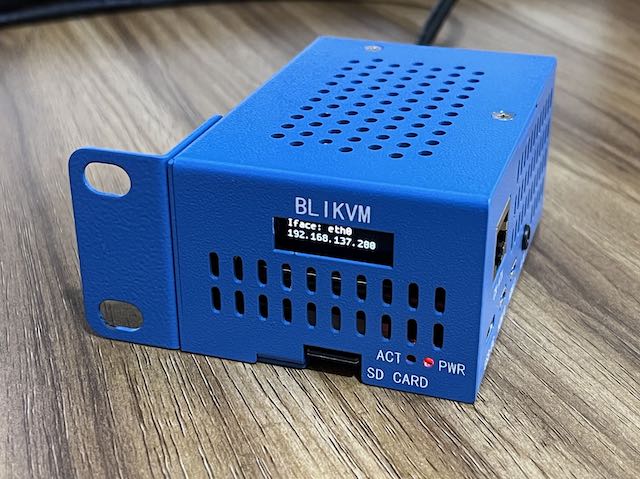
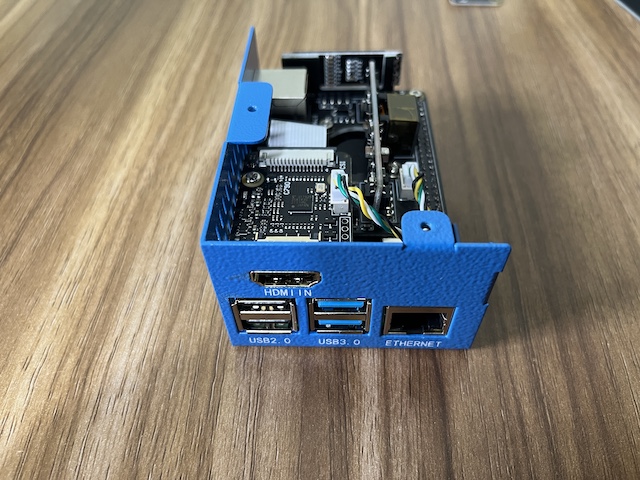
The main device installation is complete
Last update:
August 15, 2024
Created: August 8, 2022
Created: August 8, 2022