Flashing the OS image
Micro-SD Card Requirements
- Minimum 16 Gb
- Class 10 is strongly recommended
- When flashing an image, if using tools such as RPi Imager, please do not make any presets before flashing, otherwise it will cause the image to fail to start.
Why are there two versions of software, BLIKVM and PiKVM? What is the difference between the two versions? Which one should I choose? Can I use the official image of PiKVM?
- At the beginning of the BLIKVM project, the hardware was developed, and the software directly used PiKVM. With the continuous progress of the project, BLIKVM has developed its own software version of new architecture, which also lays the foundation for deeper cooperation with its own hardware;
- The core functions of BLIKVM and PiKVM are the same for users. Some subdivision functions are not the same. For example, BLIKVM supports multiple languages;
- Select according to your own use experience;
- You can use the PiKVM official image, but you need to make some adaptations according to the different hardware, mainly involving screens, fans, etc. Since the PiKVM official image is always updated, the specific adaptations need to be seen according to the specific situation you encounter at that time;
Download the image
Users who need to run PiKVM on v4 by yourself can refer to this doc.
BliKVM Versions and Software Image Compatibility
The following BliKVM versions use the same BliKVM v1-3 software image:
BliKVM v4 Allwinner, uses a separate Allwinner BliKVM image.
Web UI
The web UI is consistent across all supported versions for easy remote administration.

Base on PiKVM software
~~!!! info "Raspberry 4B and CM4 board use different PiKVM software image. After entering the link, you can see the image named with each hardware version (HAT CM4 PCIe)" * PiKVM image~~ If you want to use PiKVM image download it from the official website
Post
After the flashing the image and first boot update the OS with pikvm-update then follow the instructions described here:
PiKVM Post install instructions
Flash the image
Tip
Ignore request to format your sd card, this step is not nessessary. Choose the most suitable method for you. How to flash the eMMC on a Raspberry Pi Compute Module 4
Board Link
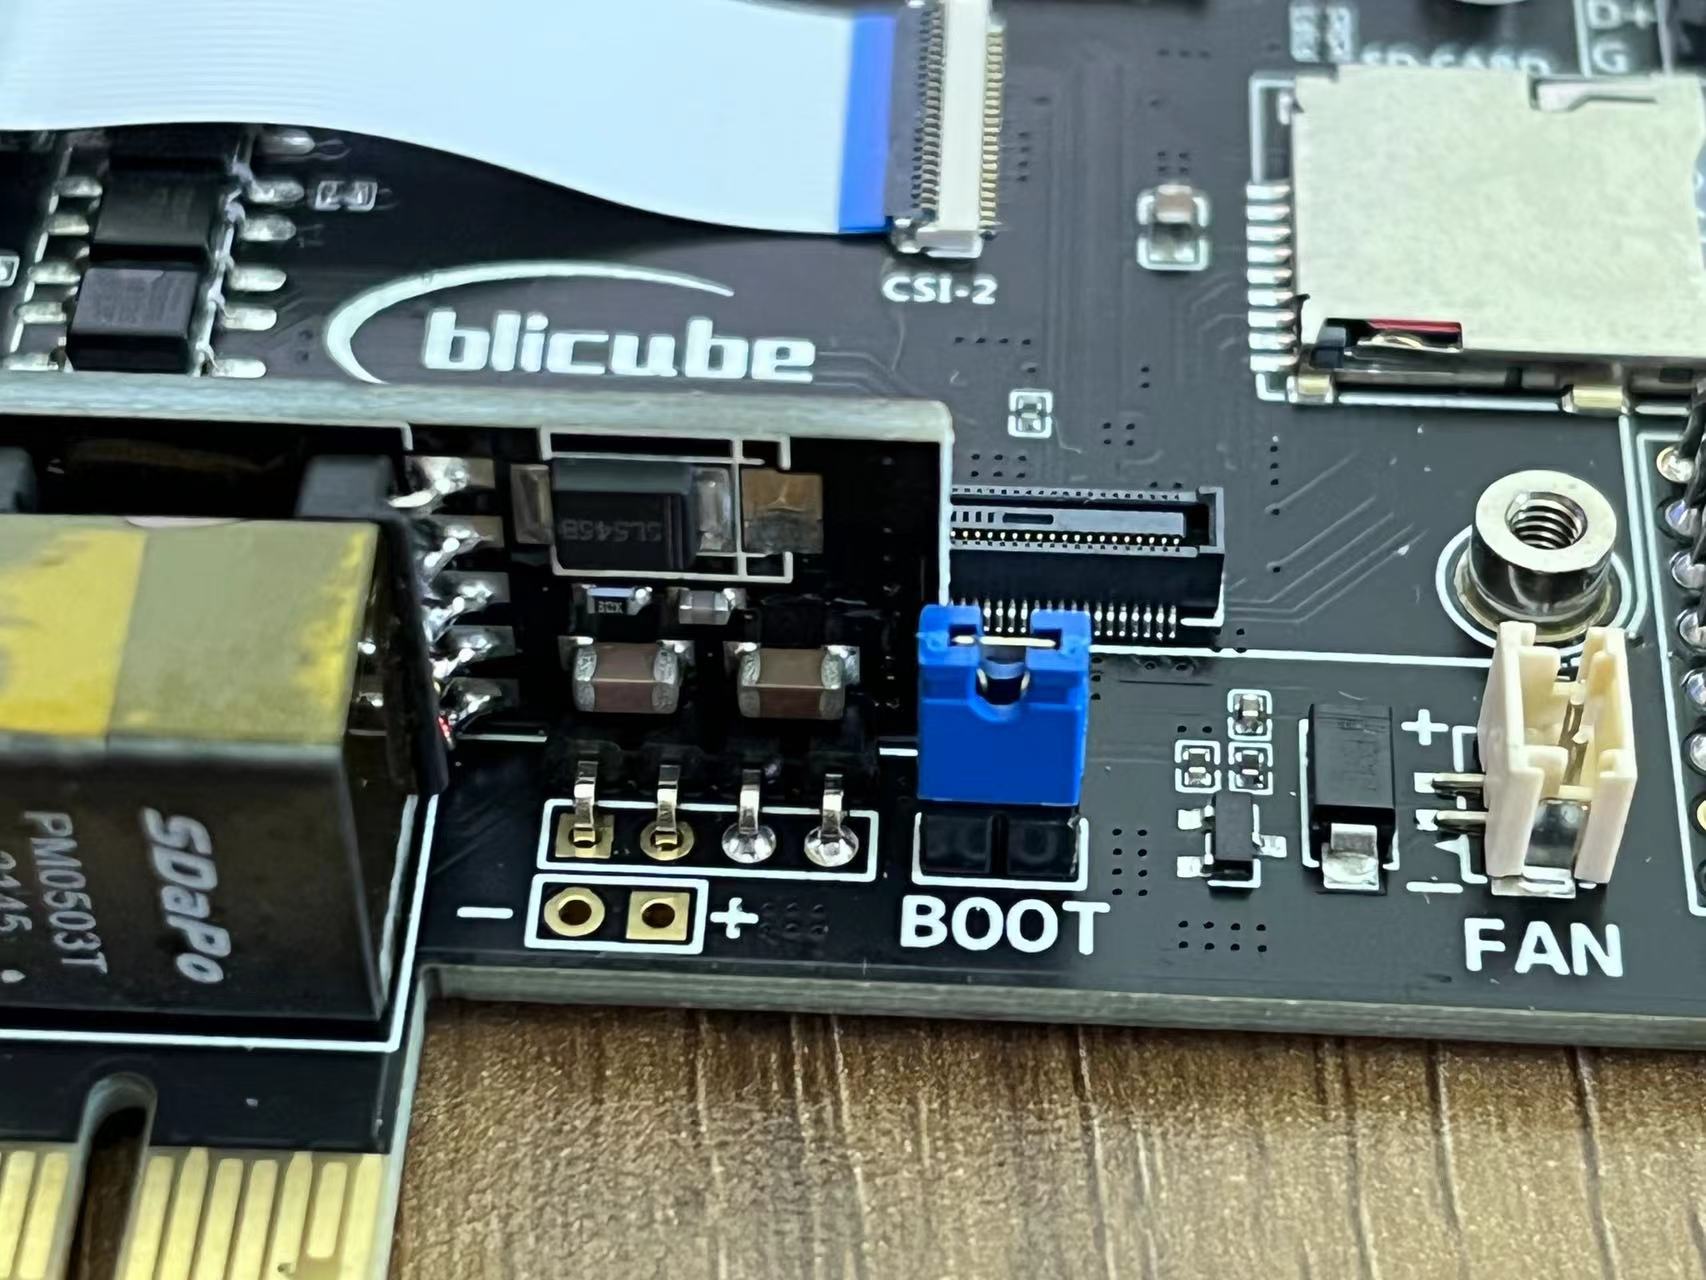
If you use a CM4 with eMMC (like the CM4102016). You can use the v1 or v2 board to flash the eMMC. If your CM4 doesn't have eMMC, your device can just use a SD card to boot from. You don't need to look into this any further. Just flash to the SD card instead. First, use the jumper cap to short the boot pin (allowing you flash the EMMC memory).
If you use BLIKVM CM4 version
Then connect the data cable to the USB OTG interface. Power on blikvm and observe the act light, the green light is always on.
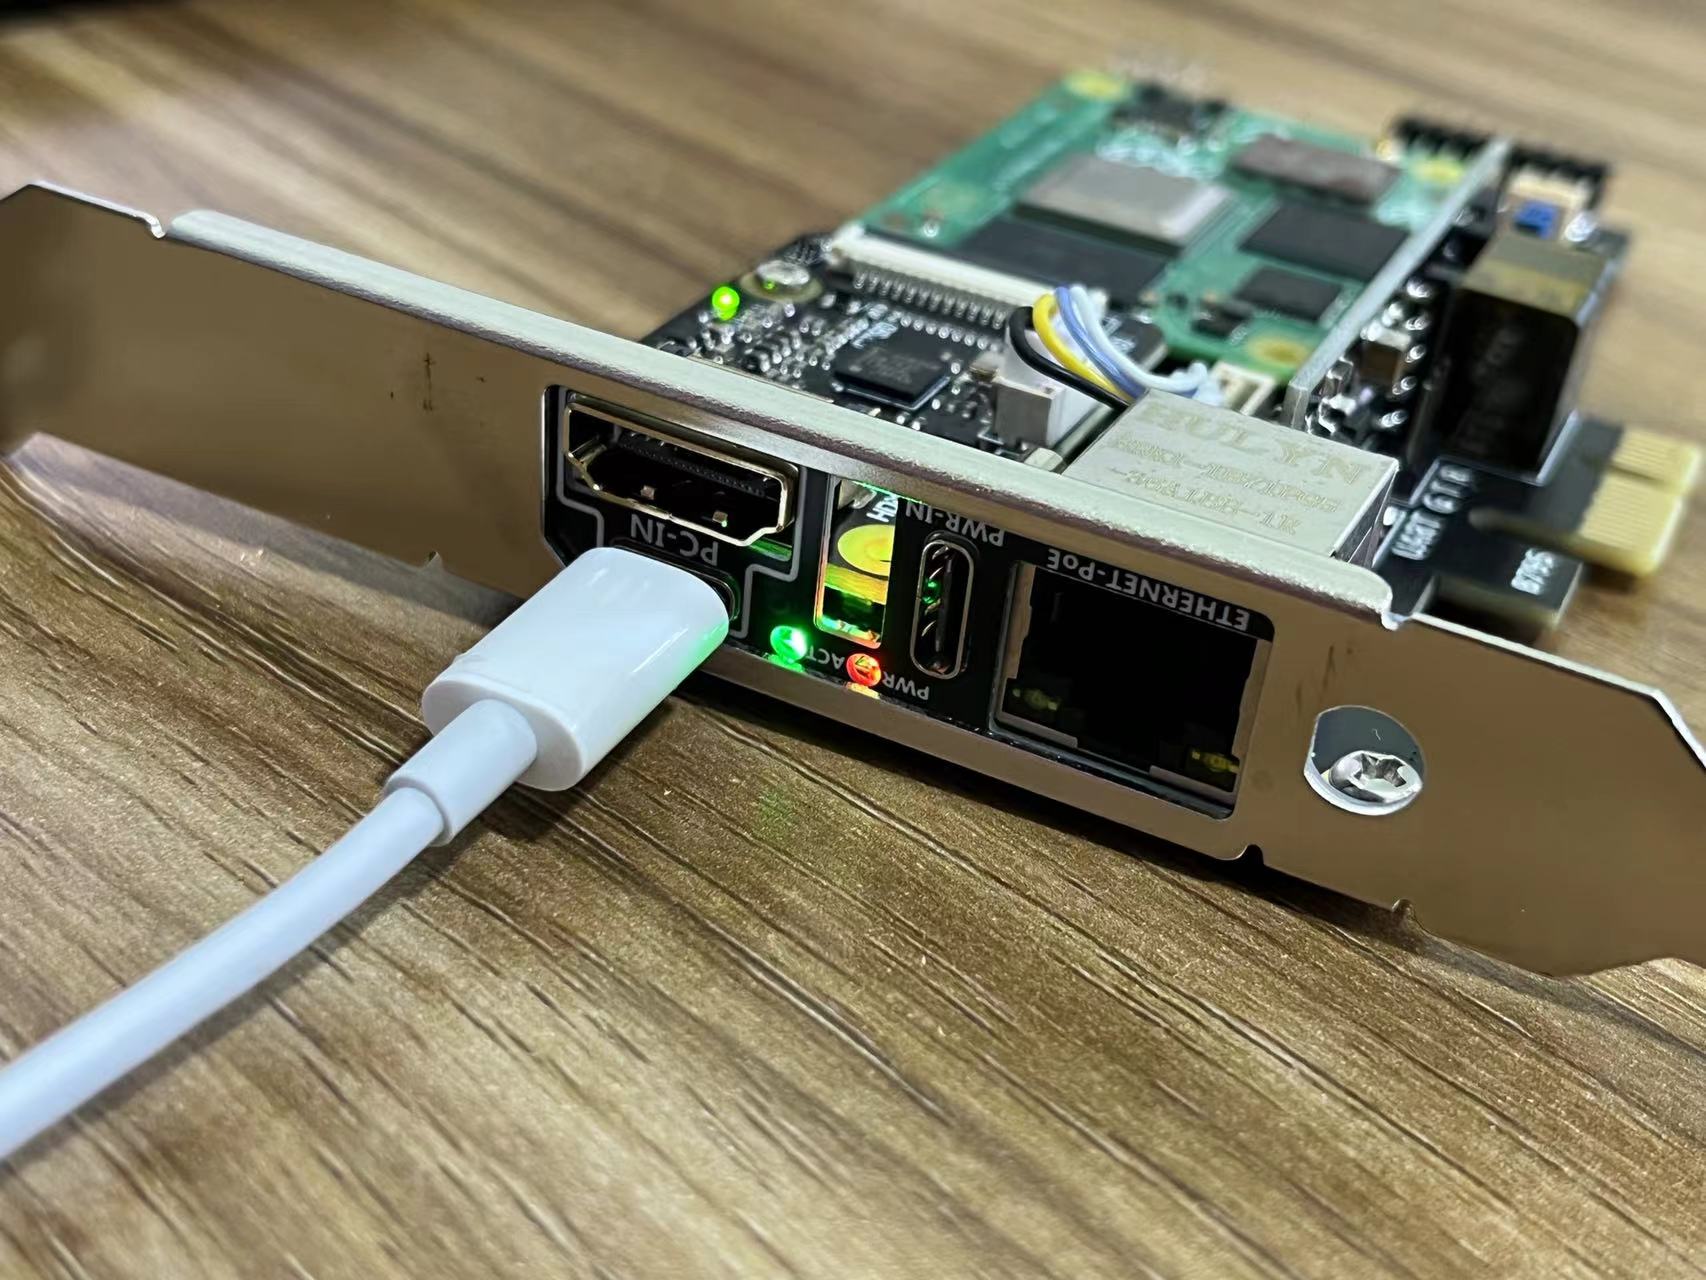
If you use BLIKVM PCIe version
Then connect the data cable to the USB-PC interface. Power on blikvm and observe the ACT and PWR LED isn't light.
After initialize EMMC through the usbboot/rpiboot, the ACT and PWR LED light is always on.
EMMC knowledge
If you use Raspberry Pi compute modules such as CM3 eMMC or CM4 eMMC version,you can initialize eMMC through the usbboot project. Note that the eMMC board version cannot use the SD card to boot the image. Instead, you need to flash the eMMC storage by using the usbboot project that emulates USB Mass Storage Device (MSD). From this video you can learn how-to flash the image quickly. How to flash the eMMC on a Raspberry Pi Compute Module 4 video
Taking Ubuntu system as an example:
Linux usbboot
If you use an Micro-SD Card, you can skip the following steps and go to the next chapter down below.
sudo apt install git libusb-1.0-0-dev pkg-config build-essential
git clone --depth=1 https://github.com/raspberrypi/usbboot
cd usbboot
make
sudo ./rpiboot
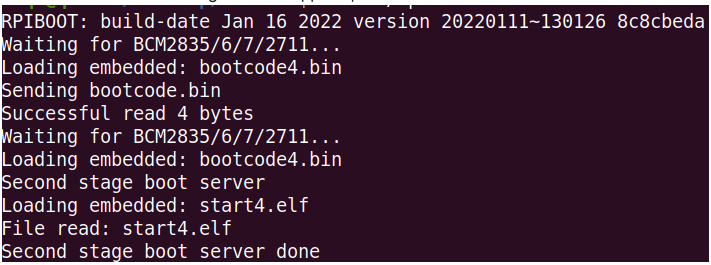
If the content in the image below appears, that indicates that the eMMC initialization was successful. The next step is to flash the image to your eMMC chip.
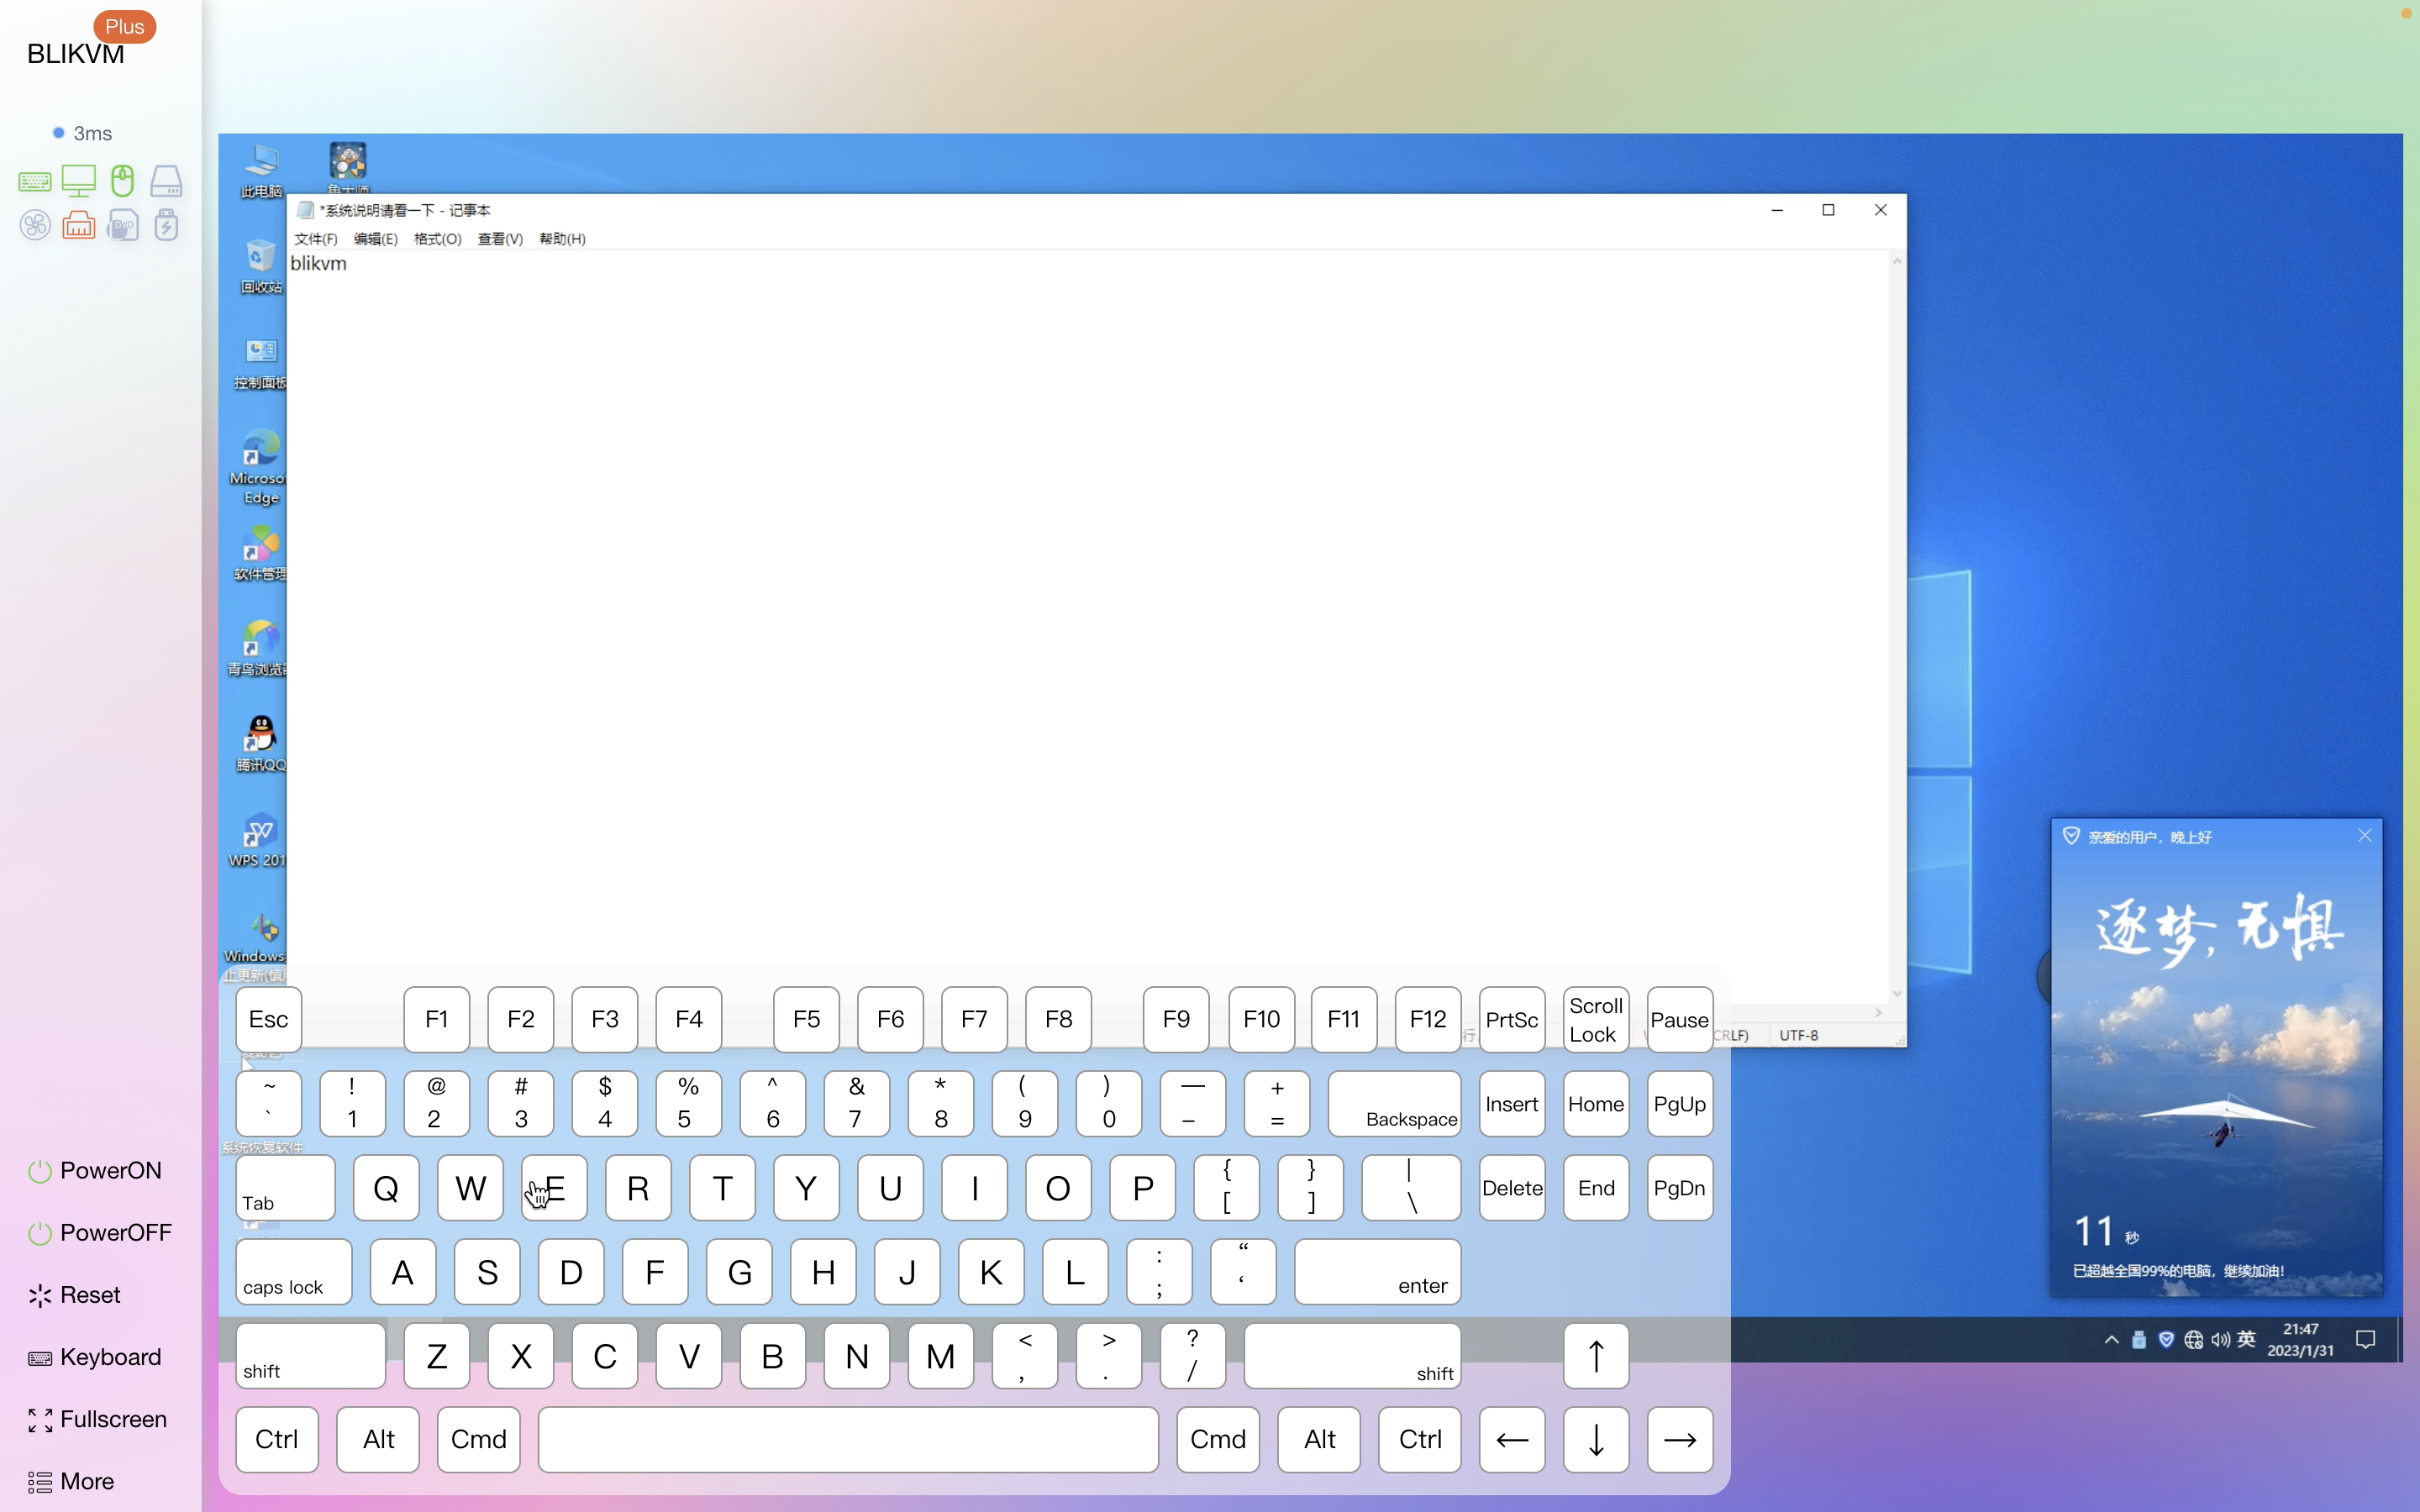
Flash the Image (Linux, MacOS and Windows)
Please do not make any additional settings to the image in RPi Imager, as this will most likely cause the image to fail to boot or repeatedly restart.
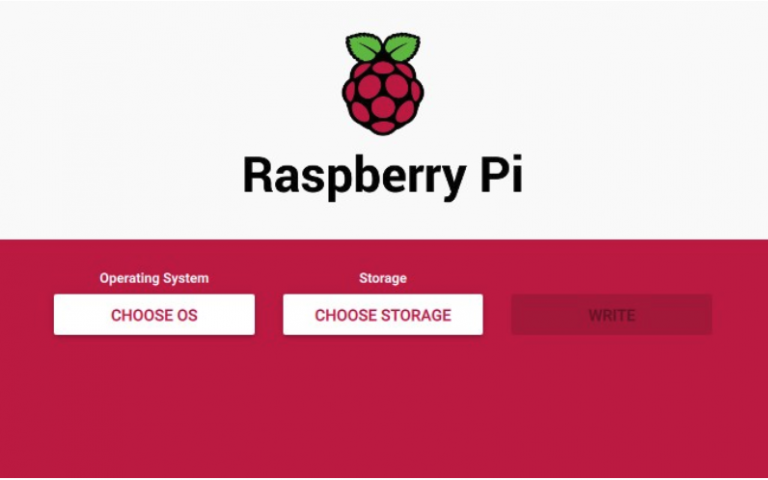
We are using the "RPi Imager" application to flash the image in this example.
-
Download and install the latest version of RPi Imager.
-
Run RPi Imager:
-
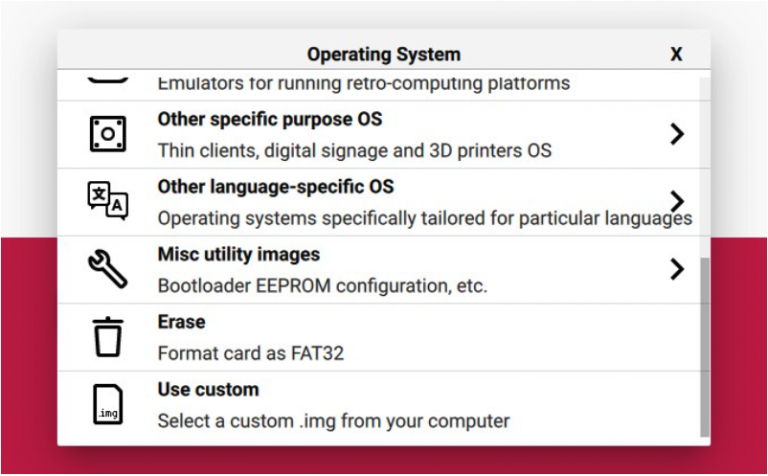
Press CHOOSE OS and select Use custom image at bottom of the list:
-
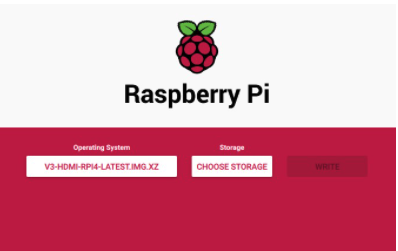
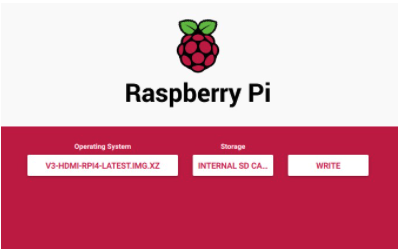
After clicking on this item, select the image file (
.img.xz), then click CHOOSE STORAGE:
-
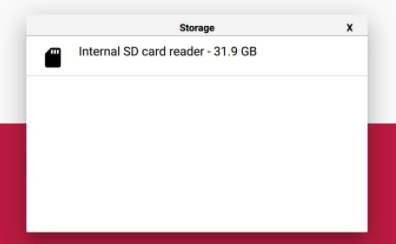
Insert the memory card into the card reader. Choose the card reader from this list (or eMMC flash storage, in case you are using a Raspberry Pi Compute module with a eMMC chip). Be careful and choose the right device:
-
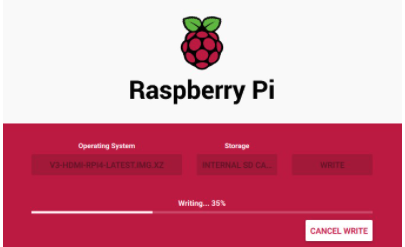
After choosing the memory card, press the WRITE button. Confirm the operation when you are asked about it:
-
Wait for the process to finish. Get yourself a coffee or do some stretching :)
Tip
The process may hang at 99% for a long time, this is okay, just wait for it to complete
8.Remove the memory card after successful completion:
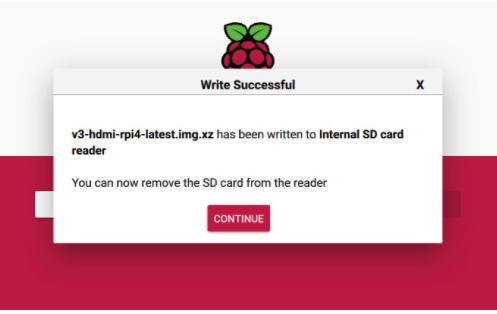
Tip
If an error occurs during flashing or booting, repeat the process.
Created: June 4, 2022