ATX Control Board
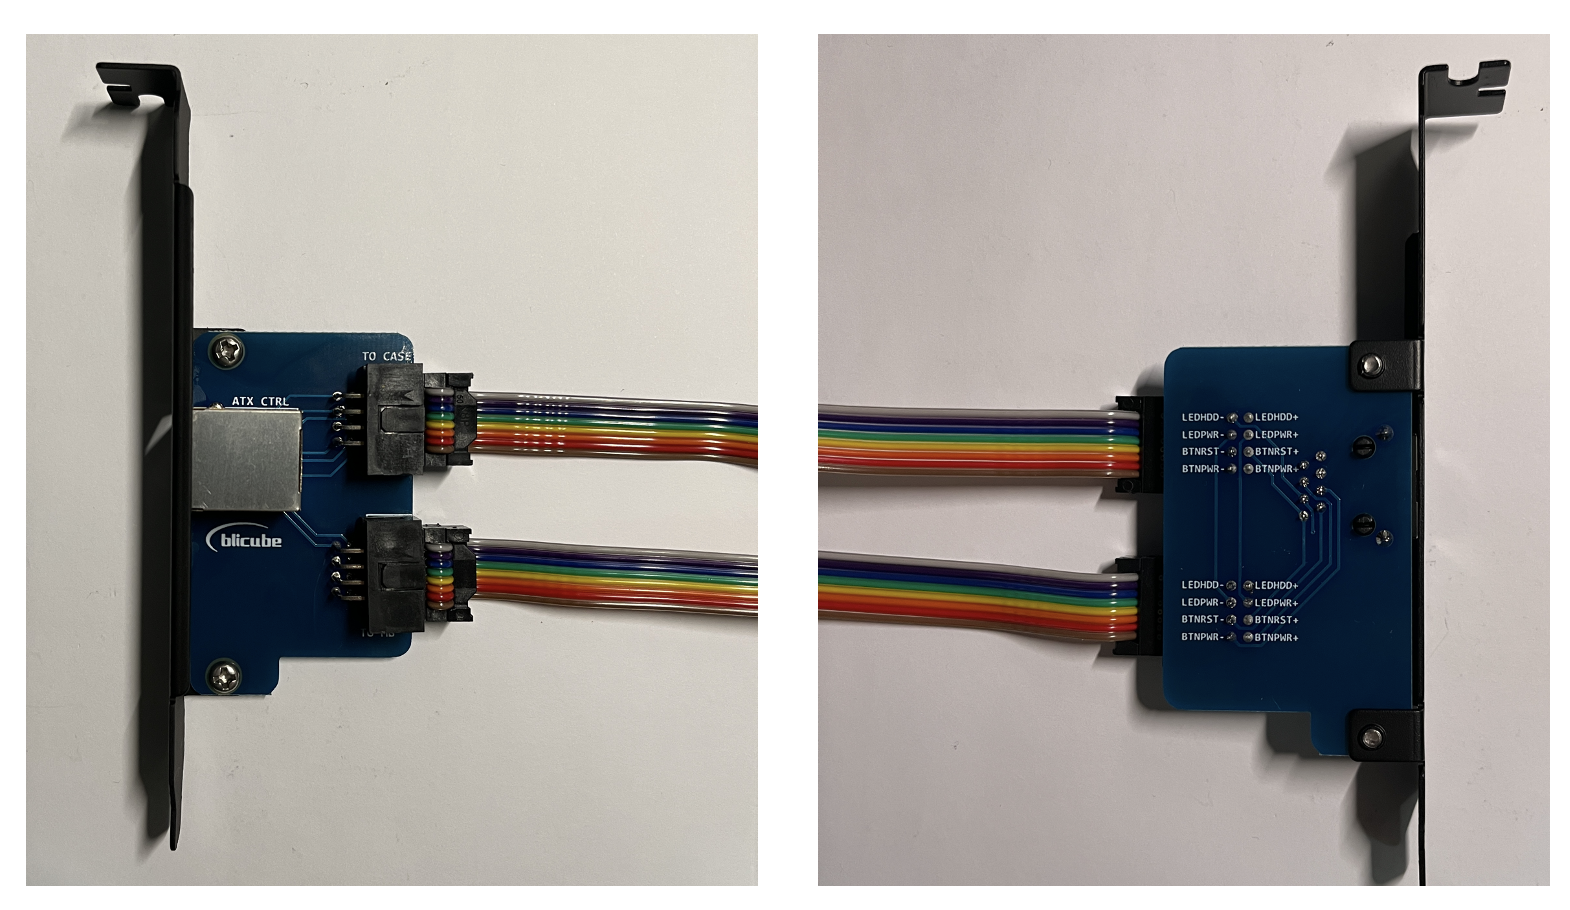
To manage the power of your computer, you need to install an ATX control board inside the chassis and connect it to the motherboard (to enable KVM control of power on/off via the ATX switch). There is a female-to-female cable that connects from the motherboard to the ATX control board and a male-to-female cable that connects from the ATX control board to the front panel (to keep the power on/off button on the chassis functional). The interface on the ATX control board has two ports (TO CASE, TO MB), and both ports have the same functionality, so they can be used interchangeably.
ATX compatibility
Laptops are not compatible with ATX as they lack the required ATX pins. This method is only applicable to Desktop PC's and servers.
Detailed Instructions
1. Connect the two cables to the ATX control board. To secure the ATX control board inside the chassis, you can choose to mount it on a bracket attached to a PCIe slot.
Example
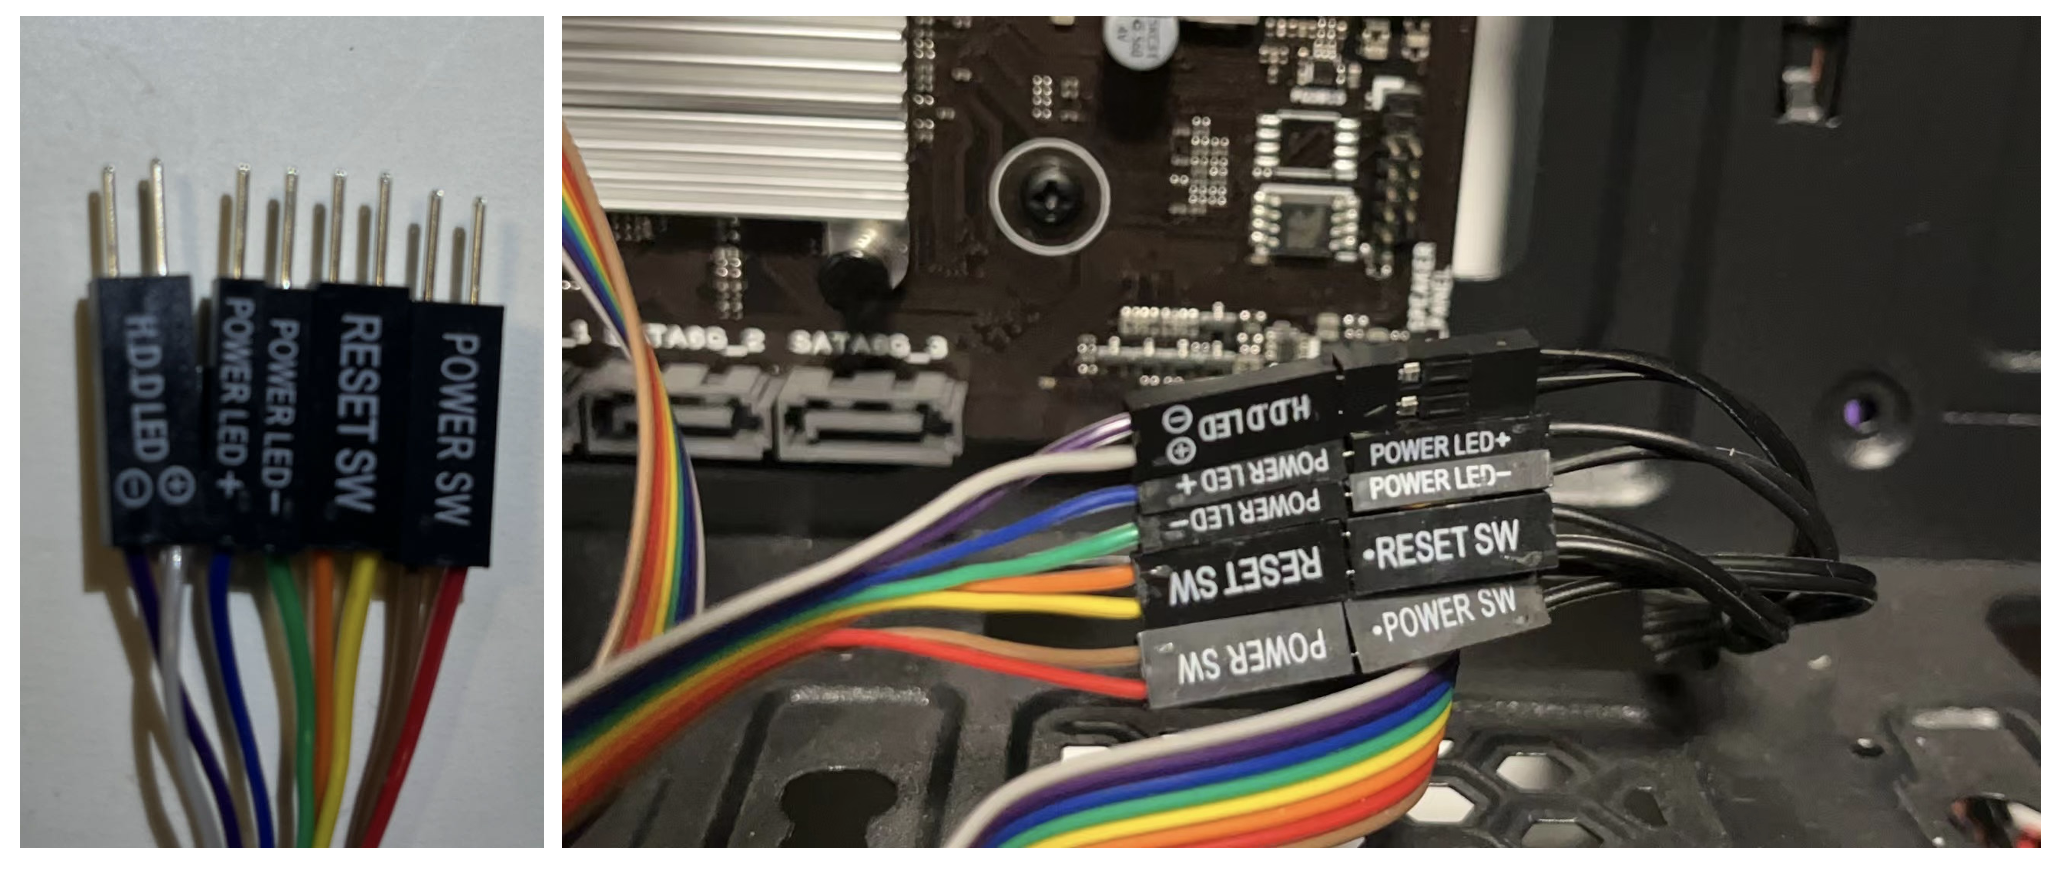
2. Locate the motherboard pins responsible for connecting the front panel buttons and LEDs and disconnect them. Usually, the cables and connectors on the motherboard are labeled. If you're unsure, you can refer to your motherboard's documentation.
Example

3. Connect the DuPont male connector from the front panel to the DuPont female connector on the ATX cable, following the pin definitions and paying attention to the labels and polarity (+ or -).
Example
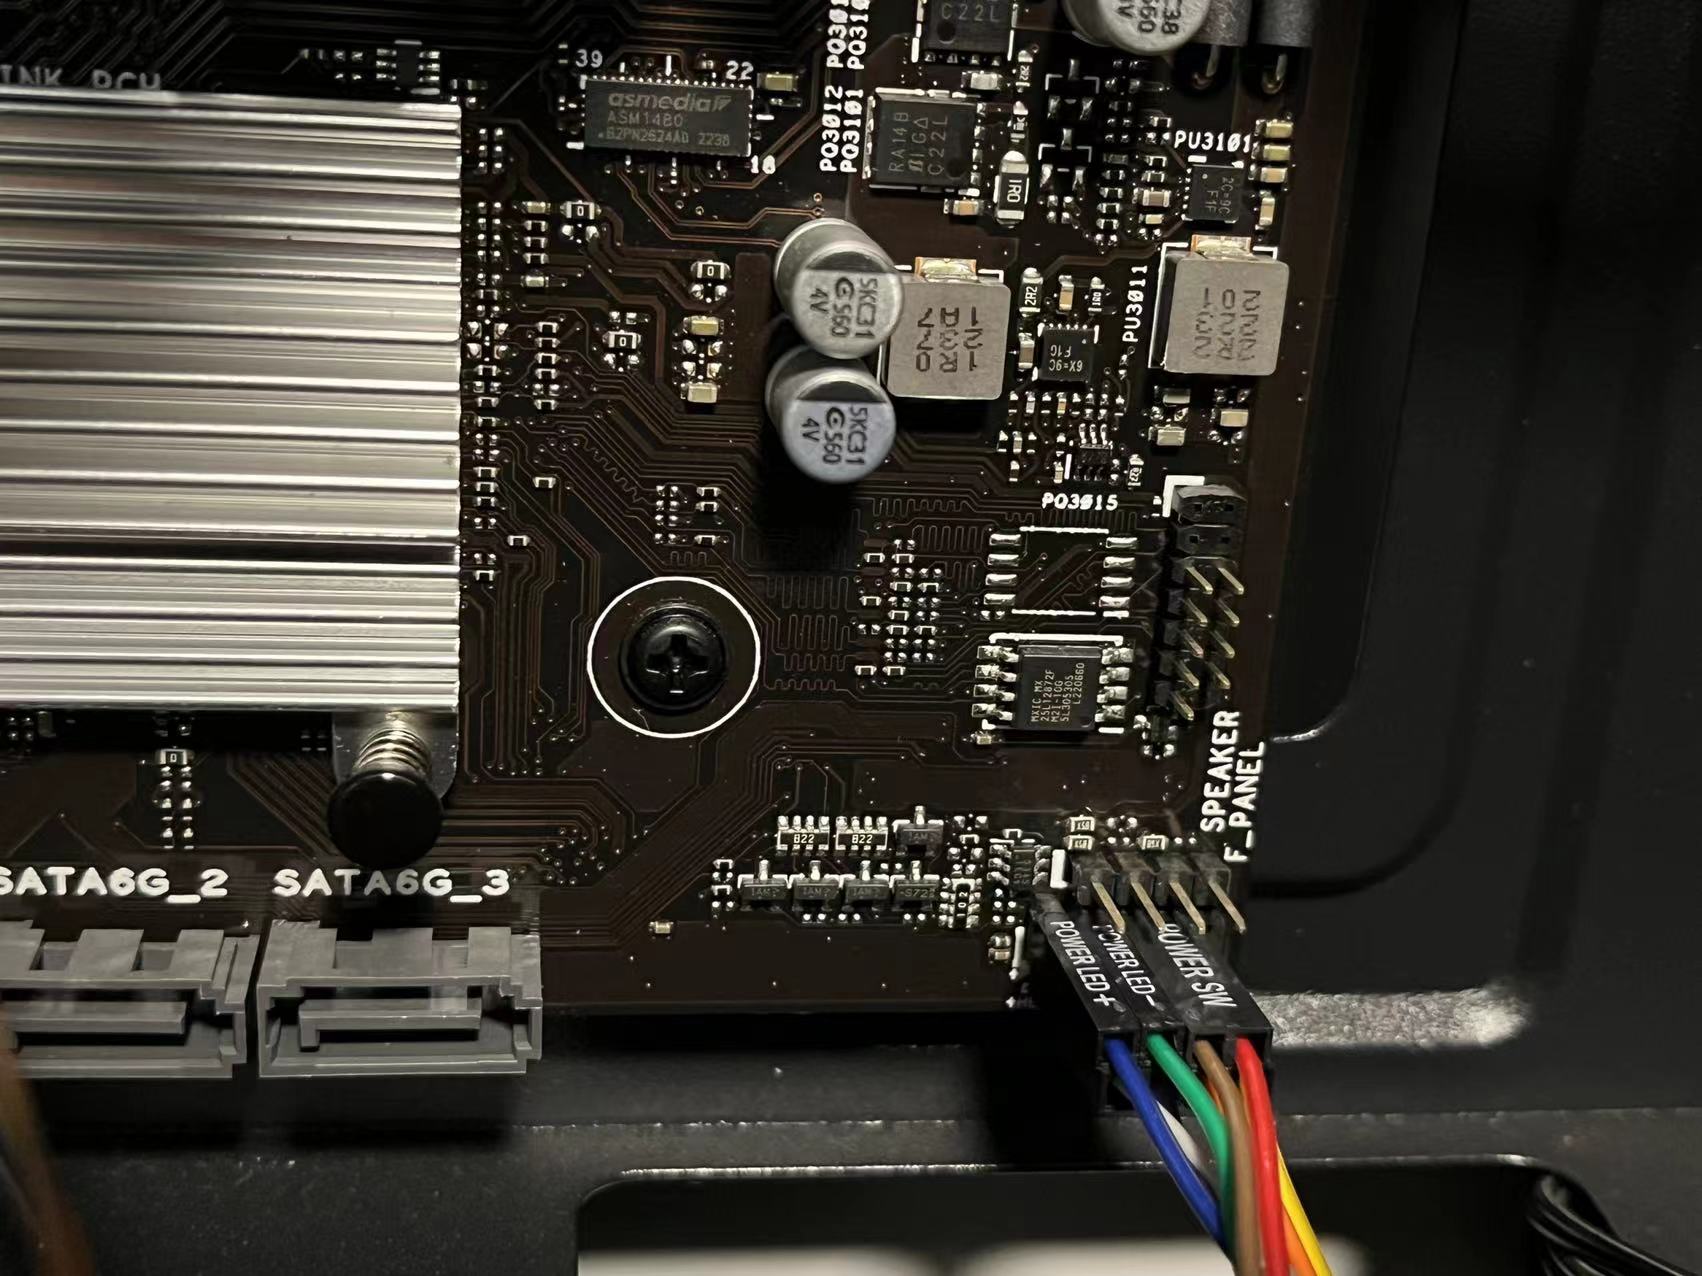
4. Using the same method, connect the female pins from the ATX board to the corresponding connector on the motherboard. Refer to your motherboard's documentation to determine which pins on the motherboard connect to which pins on the ATX control board. Sometimes, this information is printed on the motherboard.
Example
5. Install the ATX board into a PCI slot on the chassis and secure it with screws or use alternative mounting methods according to your preference.
Example
6. Arrange the cables neatly and secure them as needed. Make sure the cables do not come into contact with any fans inside the chassis. Use an Ethernet cable to connect the ATX board to the ATX interface of the BliKVM. With this, the hardware connection of the ATX control board is complete.
Created: July 13, 2023